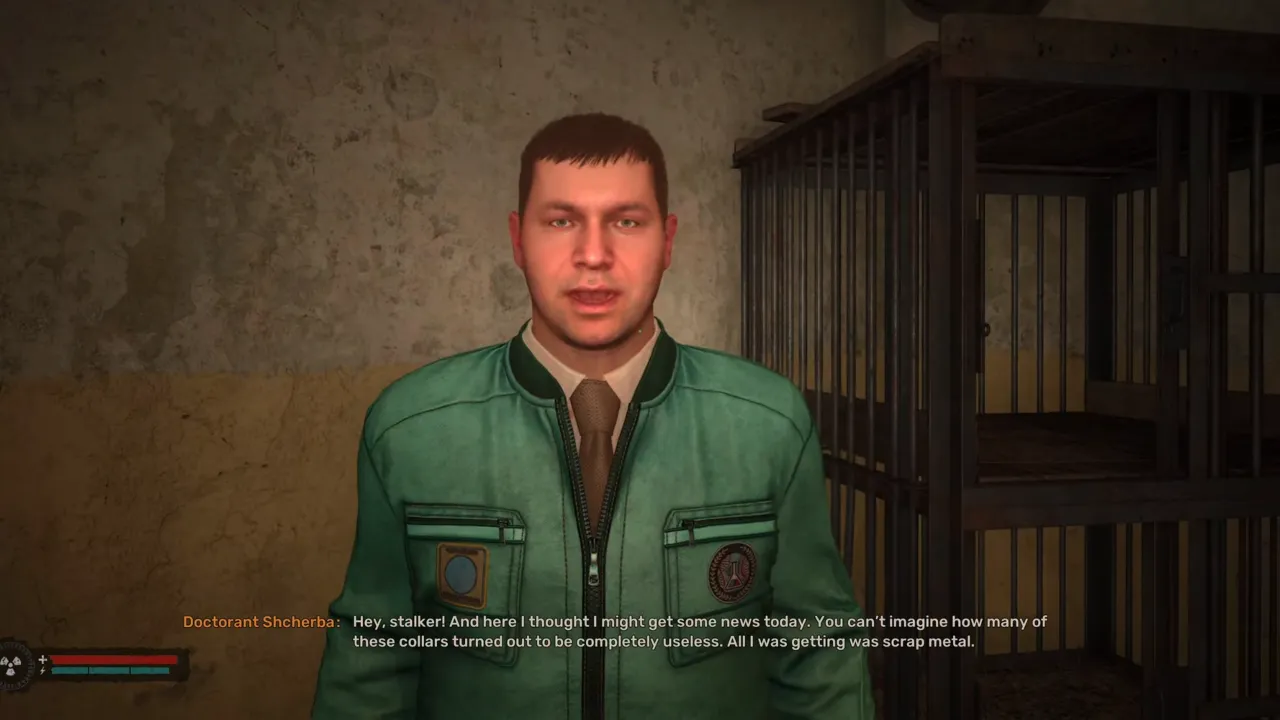
In the Name of Science is a side mission in STALKER 2: Heart of Chornobyl in which you are set on a task by Dr. Shcherba to recover electronic collars from mutants scattered across hazardous locations. What begins as a simple collection objective spirals into a high-stakes mission with challenging battles and tough decisions. This page includes a complete walkthrough of In the Name of Science, including locations of all four electronic collar locations, the end rewards, and the final choice of whether to kill Shcherba or not.
How to Complete In the Name of Science in STALKER 2
The In the Name of Science side quest starts after you’ve completed the main mission Visions of Truth. You’ll receive a radio call from Dr. Shcherba, a rather shady scientist, asking for help. Even though you can reject his request but if you are here reading this walkthrough, it means you are ready to accept his request to go on this quest. If you’re too busy when he calls and answer “I’m too busy”, you can still trigger the mission later by meeting him at the Roofed Warehouse in the Chemical Plant region.
Note: This mission only becomes available if you handed over the Controller Project Documents to Shcherba during the In Search of Past Glory mission. If you skipped that step earlier, unfortunately, this quest won’t show up.
Once you accept, your objective is clear: collect four electronic collars from different mutants scattered across the Zone. You need to travel a long distance as is the case with many objectives in STALKER 2 and there will be challenges to overcome when going through it.
Related:
Collecting the Electronic Collars
Shcherba marks the collars’ locations on your map, leading you to some of the Zone’s most dangerous areas. Here’s how to tackle each one:
1. Boathouse Collar (Wild Island)
Your first stop is the Boathouse in the Wild Island area, where you encounter a Psy Bayun mutant. This one’s tricky because it creates its own illusions to confuse you. Tip: run back to the two nearby hunters for backup—they’ll help you take it down. Aim for the bleeding Bayun because that’s the actual enemy. Once it’s dead, loot the collar from its body.
2. Garbage Collar (The Brood)
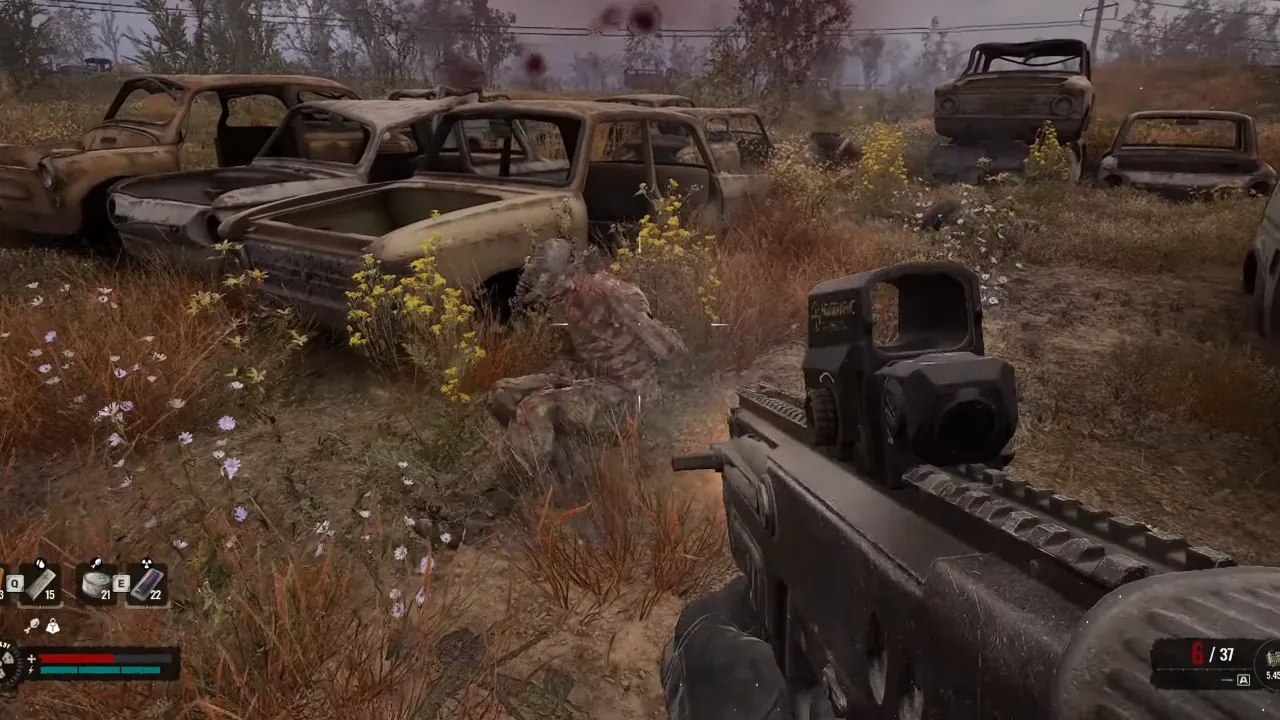
Next, head to the Garbage Zone, specifically south of The Brood compound. You’ll find a Snork mutant lurking around a cluster of destroyed cars. Be active—it’s fast and aggressive. After you kill the Snork, loot the collar from its body. Watch out for any nearby threats while you’re scavenging.
3. Brain Scorcher Collar (Malachite)
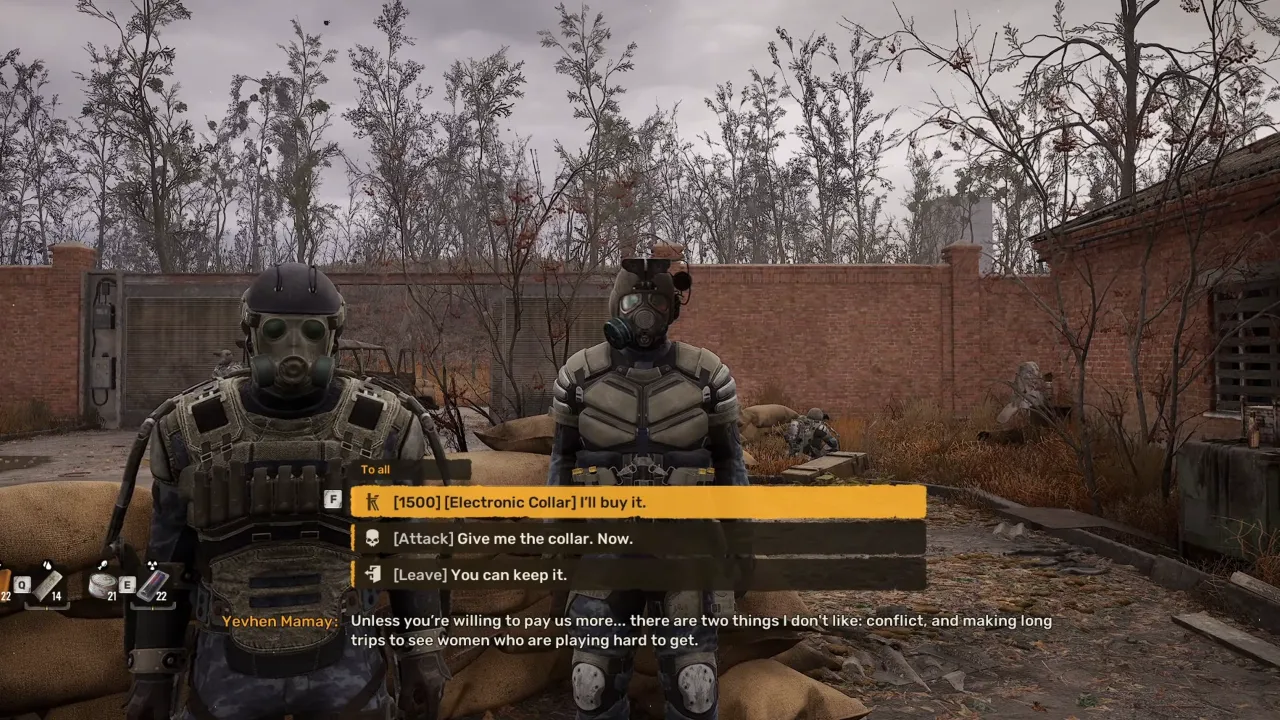
The collar is located near the Brain Scorcher POI in Malachite. When you arrive, you won’t be fighting a mutant this time. Instead, you’ll encounter a group of stalkers led by Yevhen Mamay.
Here, you have three options:
- Pay Yevhen 1,500 Coupons to hand over the collar.
- Leave without the collar, giving up on this location.
- Attack Yevhen and his crew to take the collar by force.
You can choose to fight even if you are ready for it but with low resources, it’s better to pay and get the required item.
4. Zaton Collar (Hydrodynamics Lab)
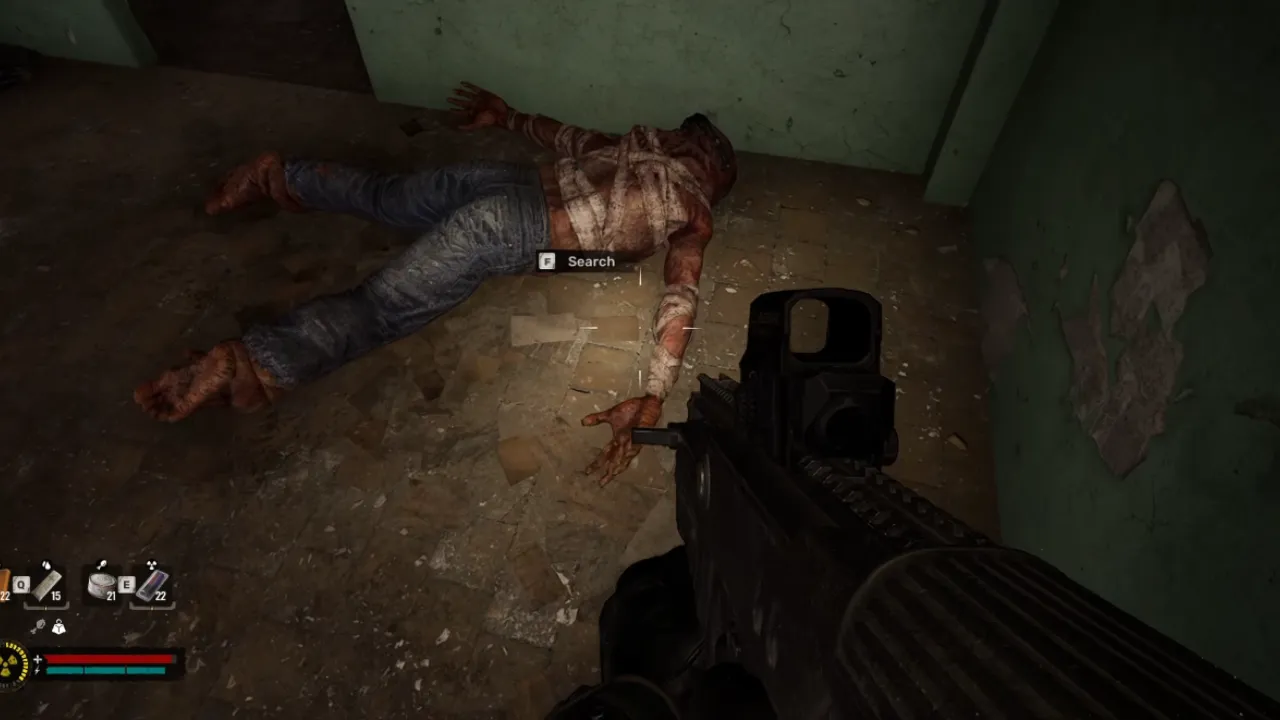
The final collar is found in Zaton, at the Hydrodynamics Lab. Here, you’ll face many Zombies before heading to the second floor to confront a Controller mutant. Controllers are deadly due to their psychic attacks, so bring Psi-Blockers, a Psi-protective suit, or Dvupalov’s Magic Vodka to resist the radiation.
Defeat the Controller and loot the final collar from its corpse. This fight can be overwhelming if the Zombies swarm you, so clear them out methodically before engaging the Controller.
Return to Shcherba to Deliver the Collars
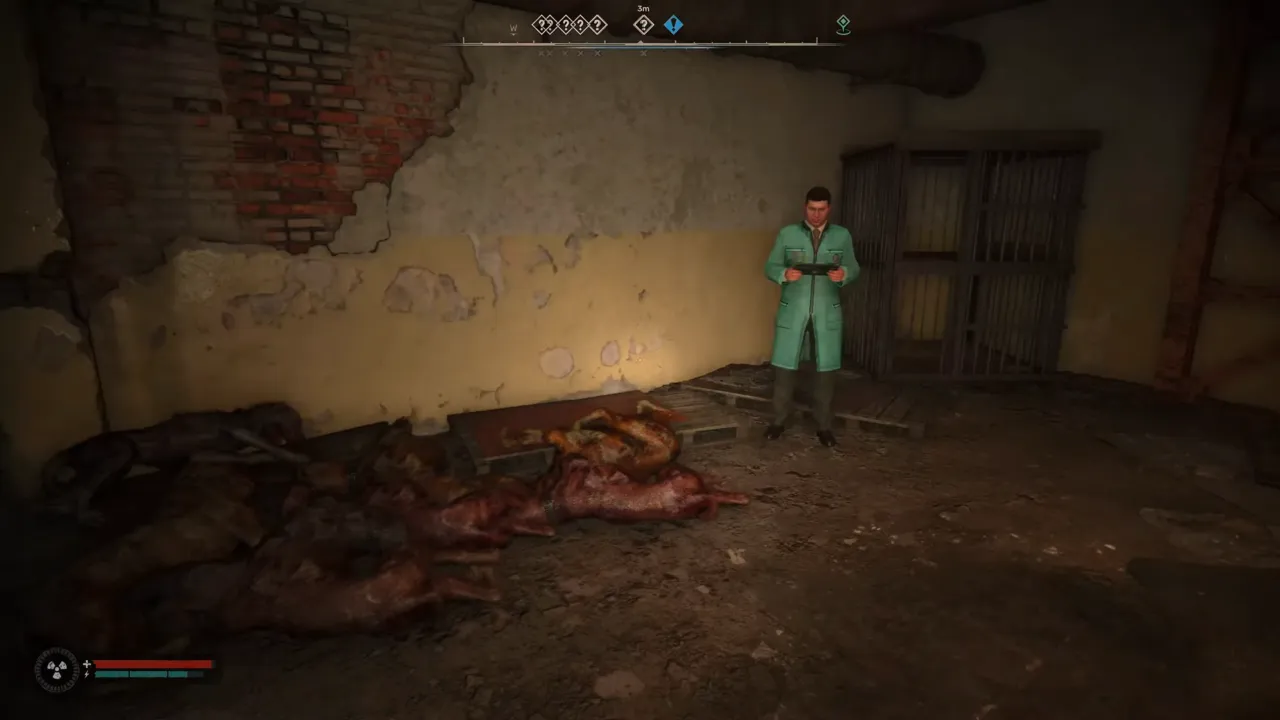
After collecting all four electric collars, head back to Shcherba at the Roofed Warehouse in the Chemical Plant to find him standing beside the wall near some animal corpses. Hand them over, and he’ll inspect them, only to discover that the collars’ signals are being jammed. Usually, he asks you to fix the problem, sending you to the Storage on the Hill.
Related:
STALKER 2: How to Get High-Capacity Saiga D-12 Drum Magazine
Find the Device that Jams the Collar’s Signal
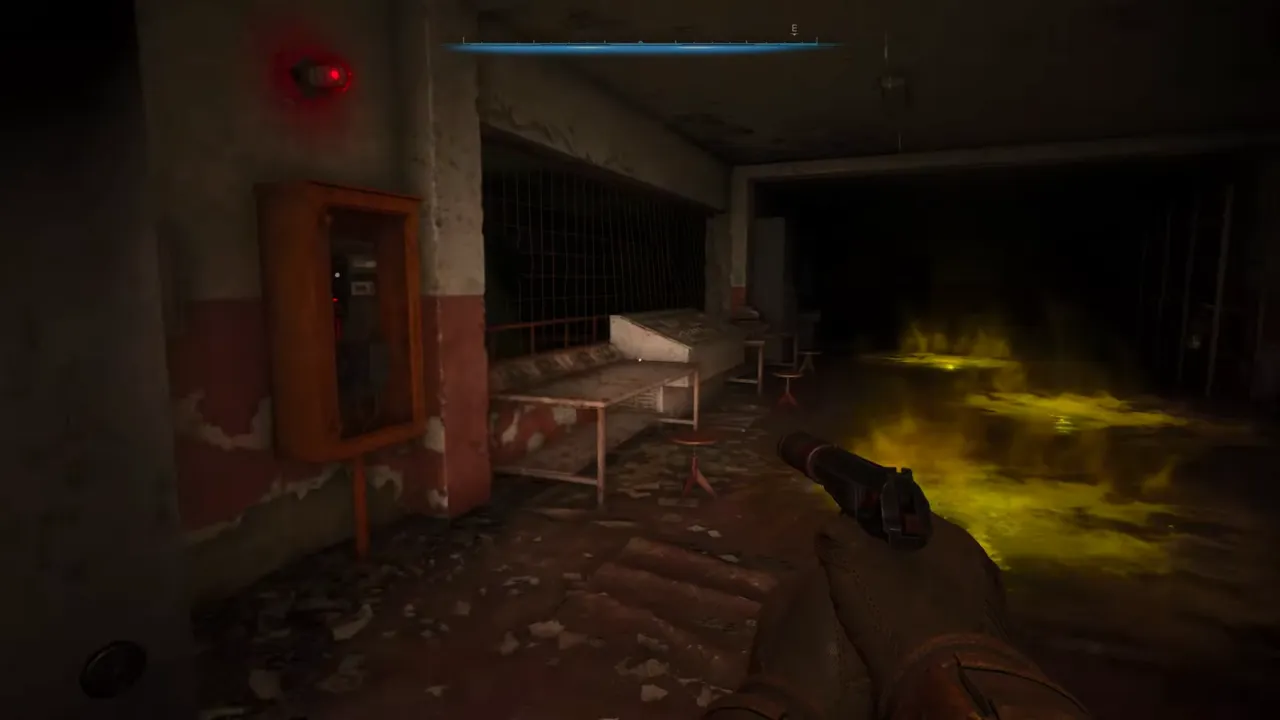
The jammer is hidden inside an underground facility at Storage on the Hill. As you approach the entrance, clear out the Zombies guarding the entryway and go inside. The facility is a maze of locked doors, but you’ll find levers along the way that unlock your path forward. Be cautious of the acid anomalies scattered on the floor—they can deal serious damage if you go within their AoE.
As you progress, you’ll eventually drop down into a dimly lit room teeming with rat mutants. These creatures might not seem threatening but in large numbers, they can overwhelm you. Take them out quickly and locate the next switch in the back room to the north to open the door to the next area. Moving further in, you’ll enter a room filled with toxic gas, where you’ll face two Poltergeist mutants. These enemies are particularly tricky—one is invisible, and the other is both invisible and acidic. Stay behind cover to avoid their telekinetic attacks and kill them at a time.
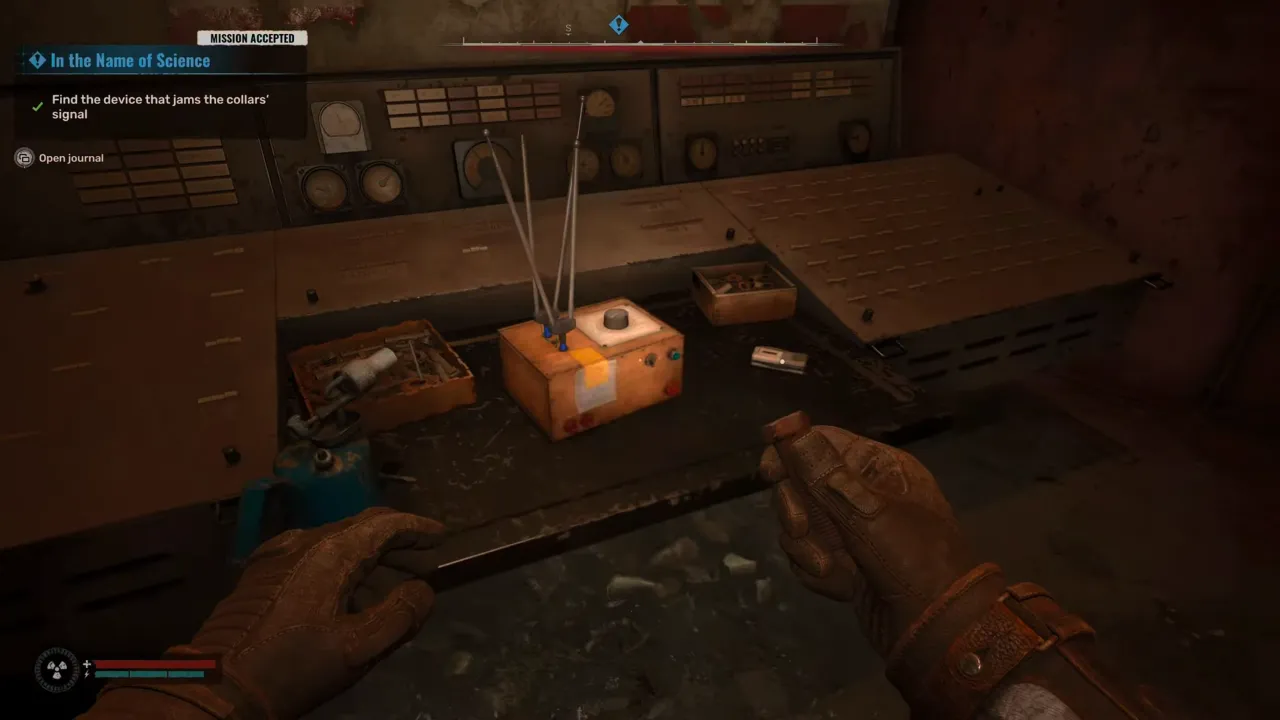
Once the Poltergeists are defeated, look for a ladder leading to the third floor. Climb up and follow the walkway to reach the jammer, which you’ll find sitting on a desk in a well-lit corner. From here, it’s time to decide whether you’ll disable the jammer or recalibrate it—a choice that will impact the outcome of the mission.
Choose to Disable or Recalibrate
When you reach the jammer, you have two options:
- Recalibrate the jammer: This disables the collars permanently. You’ll earn 8,000 Coupons from Dvupalov with his angry conversation and a disappointed call from Shcherba with the mission ending here.
- Destroy the jammer: This keeps the collars active. You’ll earn 9,500 Coupons, but this choice triggers additional events, including a mandatory fight with three Bloodsuckers later.
I chose to destroy the jammer because I was curious about the extra content and rewards.
The Final Showdown
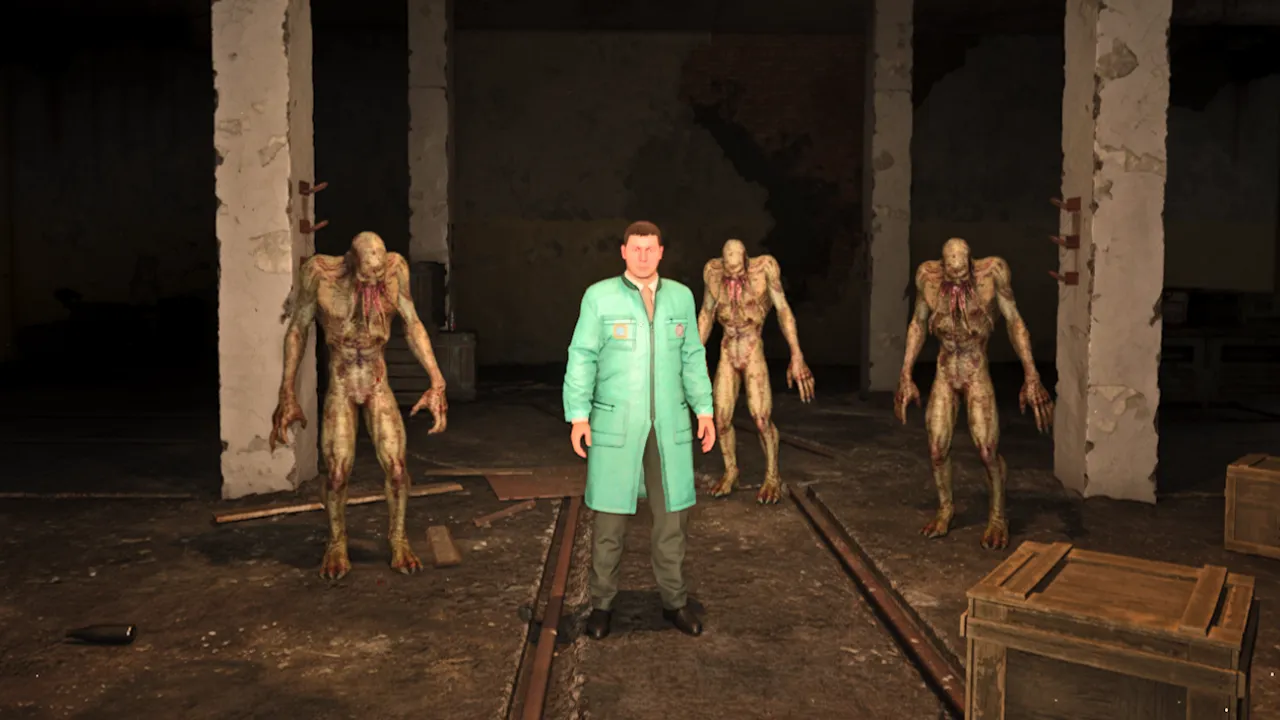
After destroying the jammer, Shcherba radios you, thanking you for your loyalty. Later, he contacts you again to pick up your “reward.” Head back to the Roofed Warehouse, where things get chaotic.
Shcherba locks you in a room and floods it with psi-radiation. Quickly drink Dvupalov’s Magic Vodka bottles he offered you to survive. When the door unlocks, you’ll face three acid-spewing Bloodsuckers. These guys are brutal, so keep moving and use medkits to stay alive. After defeating them, confront Shcherba.
Related:
Should You Kill or Spare Shcherba?
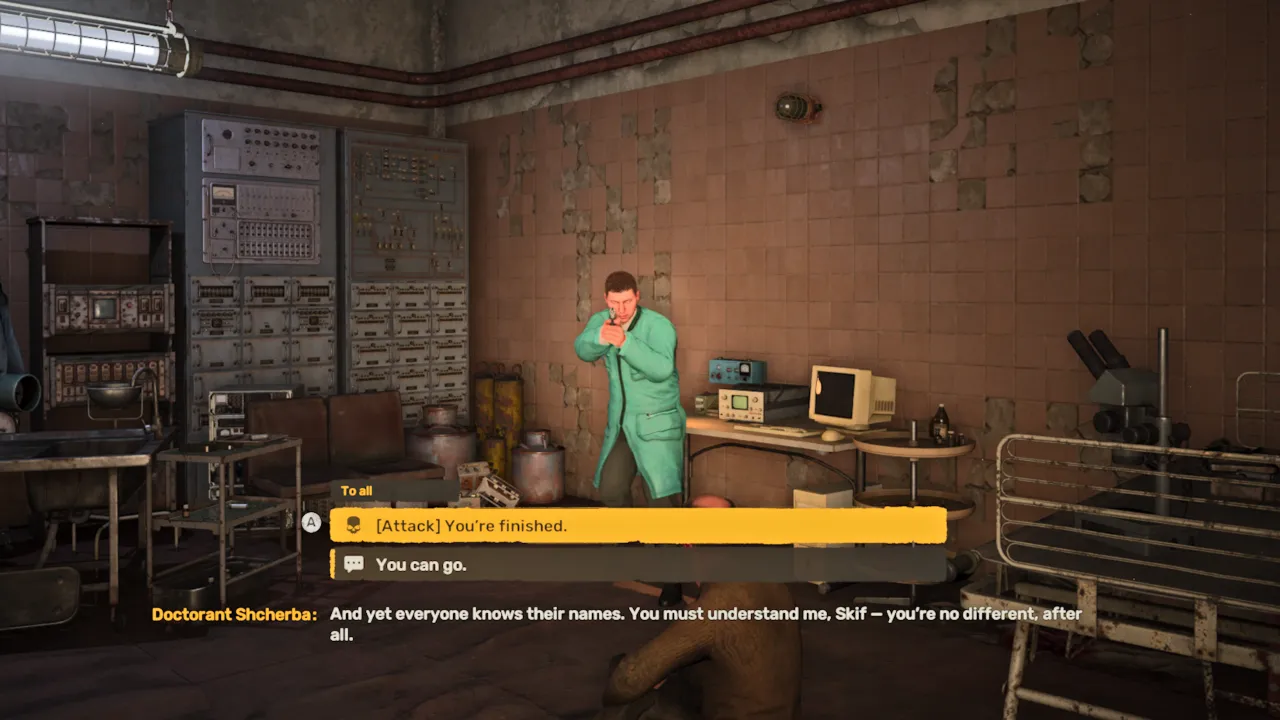
After ending the fight and meeting with Shcherba, you’ll now have a couple of choices to decide:
- Kill Shcherba: This negatively affects your relationship with the Scientists but ensures Dvupalov rewards you immediately.
- Spare Shcherba: This maintains your standing with the Scientists, and Dvupalov still gives you a Gauss Gun (50% durability) but do not want to meet with you again.
It’s better to spare Shcherba to avoid further complications in the Zone and remain on friendly terms with DoctorsScientists. Either way, Dvupalov gives you the Gauss Gun, a powerful weapon well worth the effort. Leave the Roofed Warehouse after that and In the Name of Science mission will be completed within STALKER 2. You’ll walk away with a stash of Coupons, the Gauss Gun, and the satisfaction of having survived one of the Zone’s most intense side quests.

