


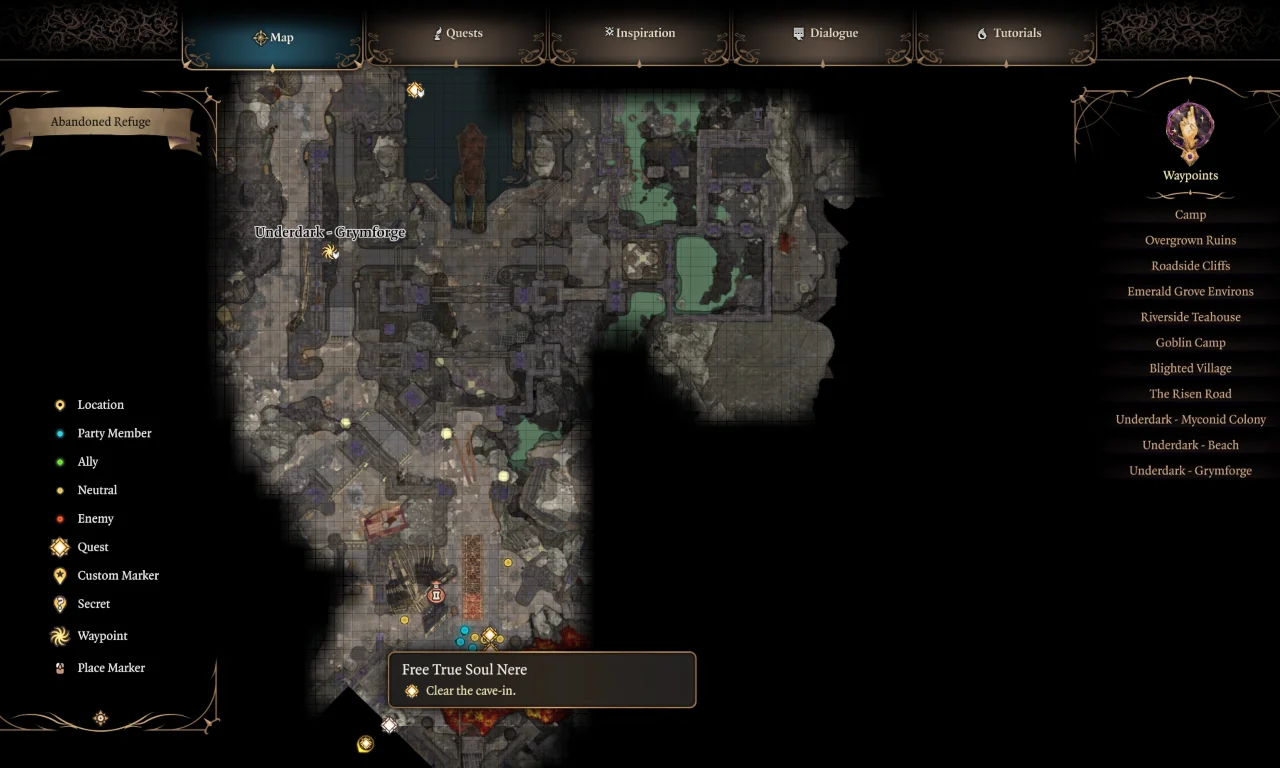
Free True Soul Nere is a side quest in Baldur’s Gate 3 that takes place during Act 1 once you reach Grymforge in the Underdark. Nere, a True Soul of the Absolute, is trapped behind a cave-in while toxic gas fills the chamber. You have limited time to free him; if you delay with long rests or in other activities, he and the other trapped Gnomes will die. This quest requires you to find explosives to blast the area, and once you free Nere in BG3, you’ll face another crucial decision in the game to either kill Nere or help him. Read on this walkthrough to know everything about how to complete Free True Soul Nere in Baldur’s Gate 3 and the consequences of both choices, and which decision you should make.
Baldur’s Gate 3 (BG3) Free True Soul Nere Walkthrough
True Soul Nere’s quest is important in Baldur’s Gate 3 if you want to get Moonlantern, no matter what choice you make in the end, by siding with him or going with Brithvar. Here’s how to free Nere to complete the quest.
Go to the Cave-In
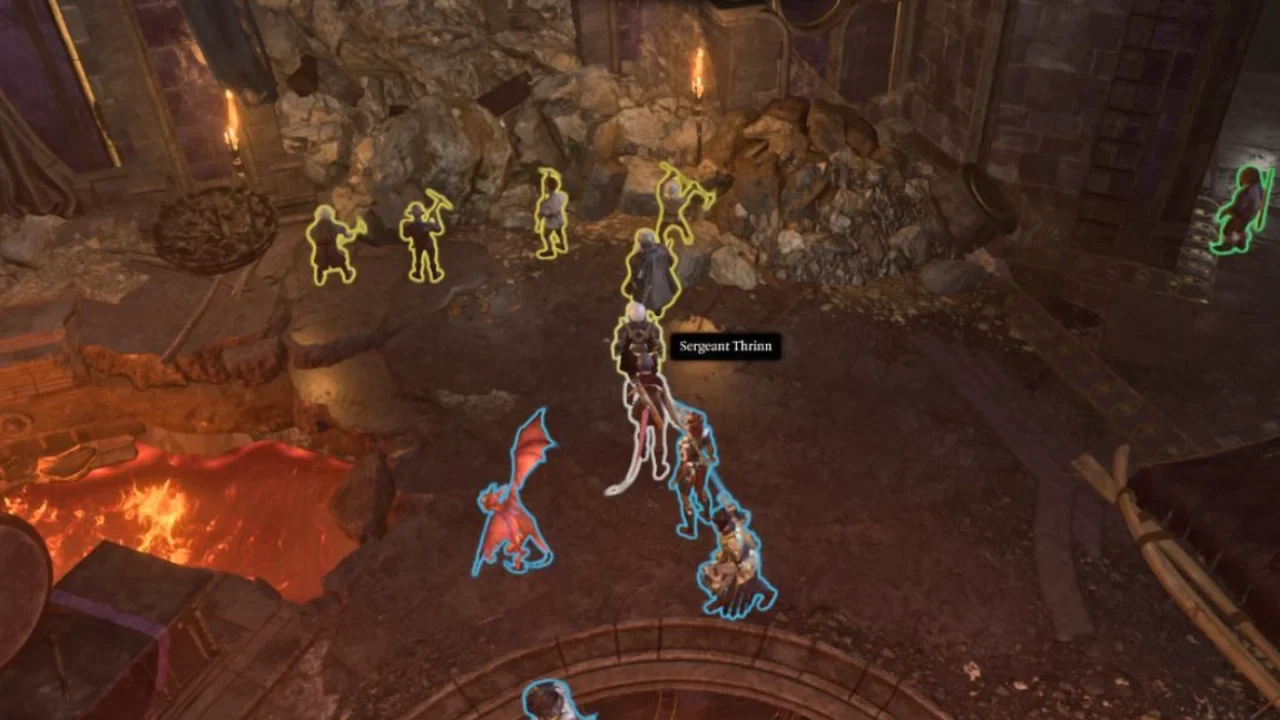
After arriving at Grymforge, head south from the waypoint and climb the stairs. Follow the path until you reach a large chamber where Duergar taskmasters force Gnomes to dig through a rubble pile. This is the cave-in where Nere is trapped, and Barcus you saved from the Windmill, is also among them.
Speak with Sergeant Thrinn, who confirms that Nere is buried behind the rocks. During this scene, Nere contacts you telepathically through your tadpole and urges you to hurry. If you want to influence events, avoid long rest as doing so causes him and the Gnomes to suffocate.
You’ll also meet Elder Brithvar nearby, a Duergar who is behind the plot against True Soul. If you talk with him before the final task, you get to fight Nere together later. The pair will explain the plot’s reason, a debt that Nere owes them, and try to corner you to pay their money, but you can convince them with the right dialogue options that you are not True Soul and are Absolute’s enemy.
Gather Intel and Prepare to Rescue Nere
Talk to the enslaved Gnomes working on the rubble. They’ll mention that simple mining tools won’t cut it, so you’ll need explosives to clear the blockage.
- Thrinn will let you handle the problem if you bring explosives.
- The Gnomes Lunkbug and Lariada hint at a runaway Gnome named Philomeen, who stole powerful Runepowder.
- If you’ve visited the Myconid Colony, you might also know of merchants who sell Smokepowder Bombs.
At this stage, you have multiple options: track down Philomeen, hunt for hidden Smokepowder Satchels in Grymforge, or use bombs you’ve already purchased.
Find Explosives

There are two main routes to get what you need:
Philomeen’s Runepowder Vial
The main task to free Nere involves finding Philomeen, a Gnome who stole a barrel of Runepowder and fled into the lower sections of Grymforge. Go to its docks area, where you’ll come across Duergar disposing of Gnome corpses into the water. Two guards, Brathwen and Viss, block the double iron doors leading inside. You can convince them to leave with dialogue checks, either Persuasion or Intimidation, or kill them. Once the doors are clear in whatever way, lockpick them open and step inside.
Walk through the passage until you reach a wall with a hidden button. If your party passes a Perception check, you’ll spot it. Pressing the button opens a secret door that leads to a dark chamber. From here, climb the stairs and you’ll encounter three Ochre Jellies patrolling the area. They can be tough if you’re unprepared, but you can either sneak past with Invisible or burn them down with fire and acid-resistant tactics.
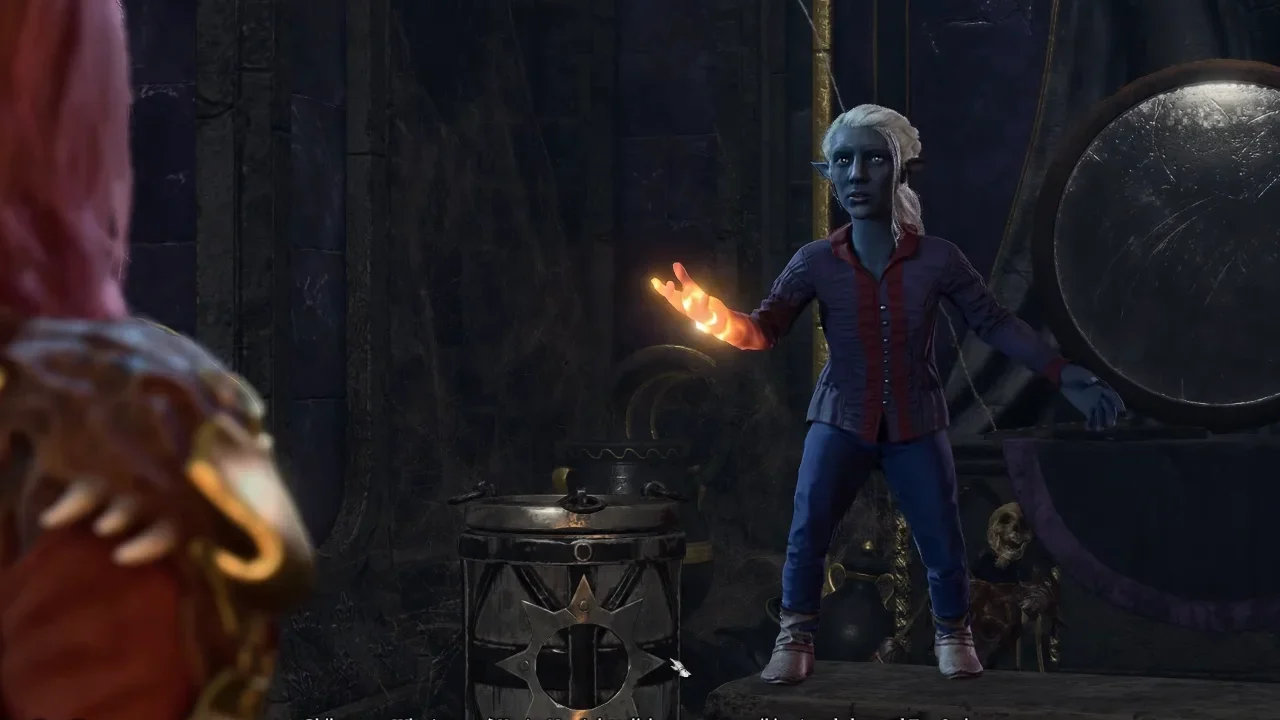
At the top, you’ll reach a locked door, and on the other side of it is Philomeen’s chamber. She is paranoid and terrified, holding the Runepowder barrel and threatening to blow herself up if you come closer.
If you’ve earlier talked to gnome miners, mention Lariada’s name to calm her down. It lowers the Persuasion DC to 10, so becomes much easy to convince her. Without it, you’ll need to succeed on a DC 15 Persuasion or Intimidation check. Failing these checks risks combat, where she may detonate the powder and destroy it.
If you succeed, Philomeen will hand over a Runepowder Vial, a powerful explosive strong enough to blast open Nere’s cave-in. You can leave her alive or kill her afterward, though keeping her alive fits better with the Gnome liberation path.
Smokepowder Satchels
- Go east of the docks and through an unguarded metal door.
- Pass a successful Perception check to spot another hidden button.
- Inside, collect two Smokepowder Satchels from rubble near a chest.
- These can substitute for the Runepowder.
Either option works, so once you secure the Vial or Sachels, return to the Nere trapped area. Keep the explosives safe because they’re the only way to free him from the poison cave.
Free Nere
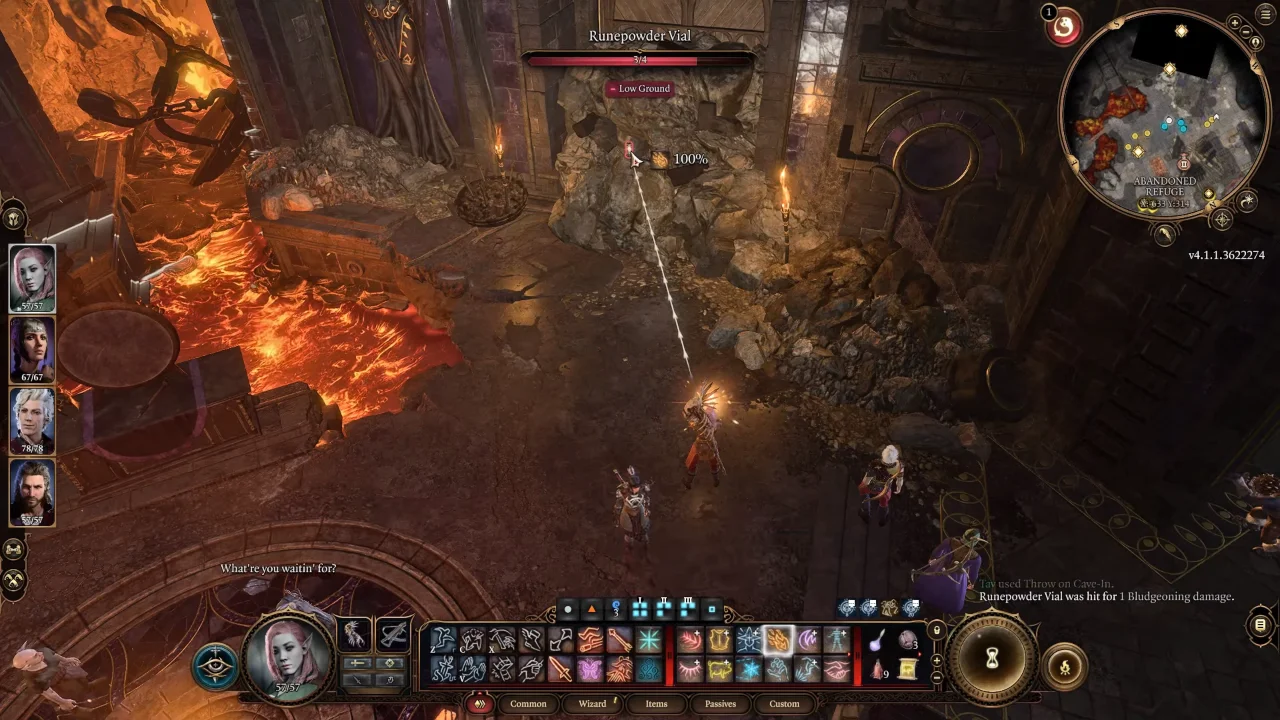
Return to the blocked passage at the trapped mining site. To place the explosives (Runepowder Vial or Smokepowder Satchels), right-click on them in your inventory and set them down near the rubble. The Gnomes will clear away from the blast zone. Ignite the charge using a fire spell, a lit arrow, or even a torch, and the explosion clears the rocks, releasing Nere.
Once free, Nere right away asserts control, executing one of the Gnomes on the spot. He then demands your obedience, and you’ll have to decide whether to side with him, betray him, or fight everyone involved.
Should You Side With Nere or Kill Him in BG3?
Freeing Nere is not the end, but it begins the most decisive confrontations in Grymforge. You can either help Nere and serve the Absolute, or turn against him by siding with Elder Brithvar and the Duergar plotting rebellion. Both choices have different consequences for loot, companions, and the Baldur’s Gate 3 story you will progress next.

Side with Nere and True Soul
If you agree to help Nere, he will order you to assist him in crushing the Gnome resistance and kill anyone who questions his authority. So you have to defeat Brithvar and his whole group, though fighting alongside Nere won’t make it tough. This path aligns you more closely with the Absolute and can fit an “evil run” or a character role-playing as loyal to the cult. Nere also spills the beans with valuable story info about General Thorm and Moonrise Towers, pushing your main quest forward.
On Nere’s side, you can also complete his objectives with no need to kill him, but it comes at the cost of alienating companions who despise his cruelty. Both Wyll and Karlach, for example, strongly disapprove of slaughtering the Gnomes unchecked. Yes, you earn a Moonlantern from him, which is crucial to enter Moonrise Towers, but you can also get it by killing him, so it’s not recommended to make key NPCs like Karlarch angry.
Side with Brithvar and Kill Nere
The best choice is to betray Nere and take him down with Brithvar’s help. If you spoke with Brithvar earlier and agreed to his plan, he and many Duergar allies will join this battle against True Soul and his guards.
Defeating Nere drops some of the best loot available this early in Baldur’s Gate 3: the Sword of Screams, which deals bonus psychic damage; the Disintegrating Night Walkers boots that grant Misty Step and immunity to entangle effects; and another Illithid parasite for your collection. He also carries a broken Moonlantern necessary to enter the Shadow-Cursed Lands. If you’ve spoken with the Myconid Sovereign at the colony, you can even bring Nere’s head back to receive the Envoy’s Amulet, an accessory that levels up Persuasion.
Narratively, killing Nere also preserves the Gnomes and positions you as a liberator rather than a collaborator with the Absolute. This choice aligns positively with most companions and ensures that Grymforge remembers you as the one who stood against tyranny, even if it means wiping out the Duergar afterward to keep the area safe.
Read Next:


