


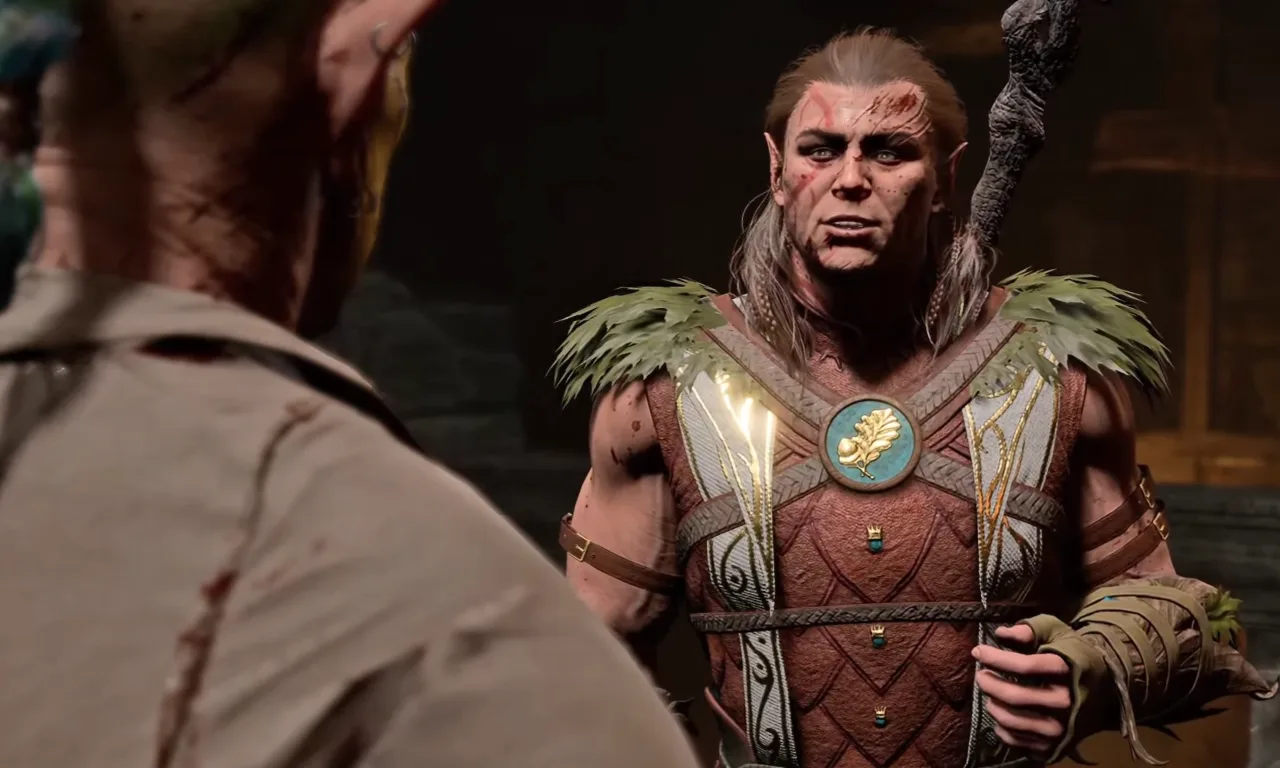
In Baldur’s Gate 3, you’ll meet a huge cast of interesting characters with deep stories, but few are as crucial or as enigmatic as Halsin, the missing First Druid of the Emerald Grove. Halsin is a key figure both for the Grove’s survival and for you to find a cure for the annoying mindflayer tadpole problem in your head. In Act 1 of BG3, Rescuing the Druid Halsin part comes during the “Finding a Cure” main quest.
Halsin is being held captive by Goblins, and freeing him requires sneaking, fighting, or bluffing your way through their fortified Goblin camp. Whether you go in all subtle and sneaky, or turn the entire camp into a pile of burning corpses, this Baldur’s Gate 3 guide will walk you through the way to save Halsin and what happens after.
Baldur’s Gate 3: Rescue the Druid Halsin Quest
There are a couple of ways to start this quest to rescue Halsin. The direct way is by talking to Rath, Halsin’s right-hand man. Find him in the Emerald Grove’s Inner Sanctum (the area past the stone doors near the Sacred Pool). He’ll tell you Halsin disappeared while investigating the goblins, which sets your quest in motion. The last time anyone saw him was when he was venturing off with Aradin‘s team, and they haven’t seen hide nor hair of him since.
Alternatively, you can meet Nettie, the healer Druid, in the same area. If you tell her about your tadpole infection, she’ll freak out and try to poison you. But if you survive that awkward encounter, she also spills the beans about Halsin being missing. Further, by roaming around the Grove, other NPCs will casually mention Halsin’s disappearance, which also nudges you toward the quest. Regardless of how you get the quest, your objective is to find out where the Goblins have kept the Druid Leader and rescue him. This mission links directly into the Goblin vs. Tiefling conflict, so depending on your choices, it can have major consequences later in Act 1 of Baldur’s Gate 3.
Get Into the Goblin Camp
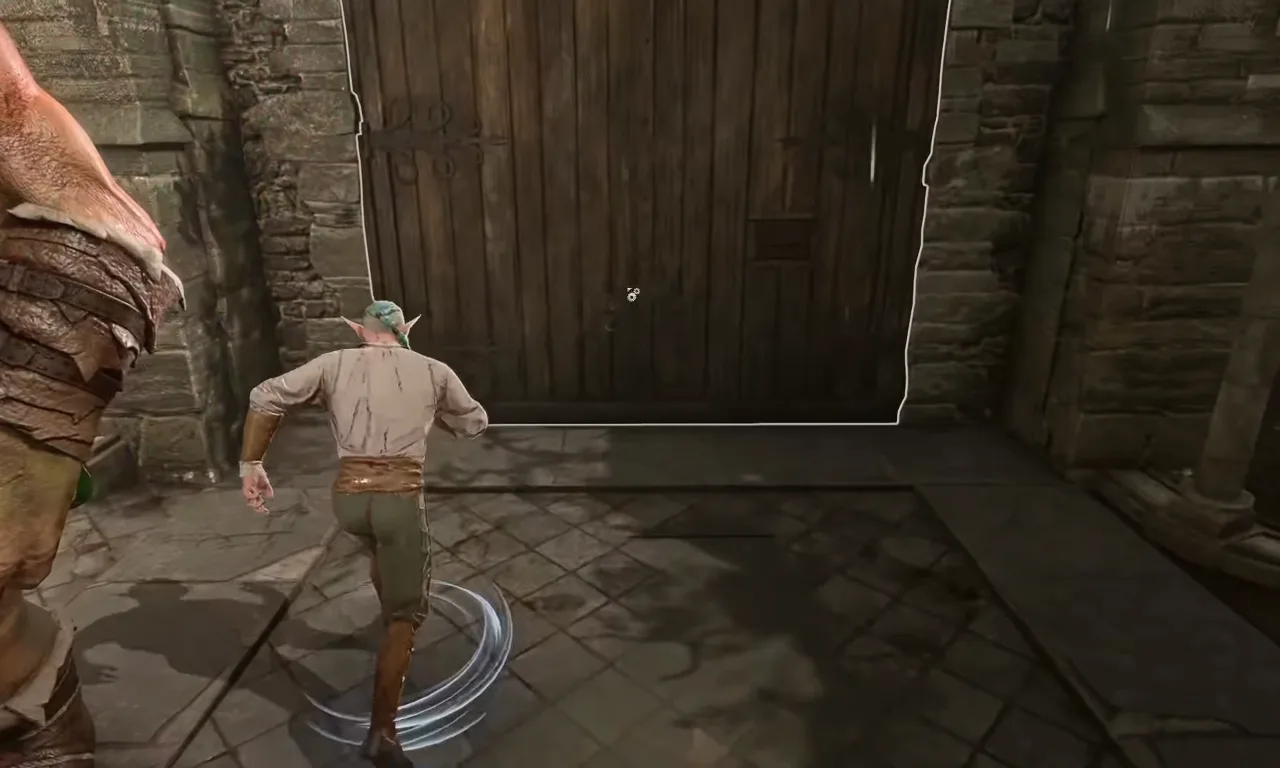
Make your way to the Goblin Camp, specifically looking for a place near the windmill in the Blighted Village where you previously set Barcus Wroot free. You’ll be looking for some large doors that lead into the Shattered Sanctum. Depending on your character’s race, entering the sanctum might be a breeze or a bit of a hassle. Drow characters, for instance, can strut right in because one of Goblin’s leaders is also Drow so they show respect to this cast, while others might need a bit more finesse. A helpful tip if you’re not a Drow: freeing Sazza the Goblin earlier might come in handy here.
Goblin Camp is a dangerous stronghold northwest of Emerald Grove, crawling with Goblins, Bugbears, and Worgs. If you simply charge in like a barbarian on a bad day, you’ll probably get overwhelmed. So one way is to smooth-talk your way in. The Goblins at the front gate are pretty gullible. When you approach, a couple of guards will stop you, but you can talk your way through if you have:
- Persuasion or Deception: Convince them you’re on their side, maybe pretend you are only passing through or interested in joining their party.
- Illithid Tadpole Powers: If you’ve been embracing your brain-worm’s weird Psychic abilities, you can mind-trick the Goblins into letting you in, since they think all True Souls (mind-flayer minions) are on their side.
- Playing as a Drow: Goblins fear and respect Drow due to their connections to the Absolute, so as a Drow character, they might allow you to enter without question.
Otherwise, there’s a hidden cracked section of the outer wall by which you can bypass the front gate entirely with good jumping. Use any invisibility spells or potions to sneak past the guards and enter through side routes. Moreover, there’s a back entrance near X: 51 Y: 476, but it’s rigged with explosive mines. For a character with no high Perception and Sleight of Hand, this area can explode, so it’s a deadly path to take. If you can calmly sneak in, it means you won’t alert the entire camp, making it easier to explore and defeat important enemies one by one instead of fighting an army all at once.
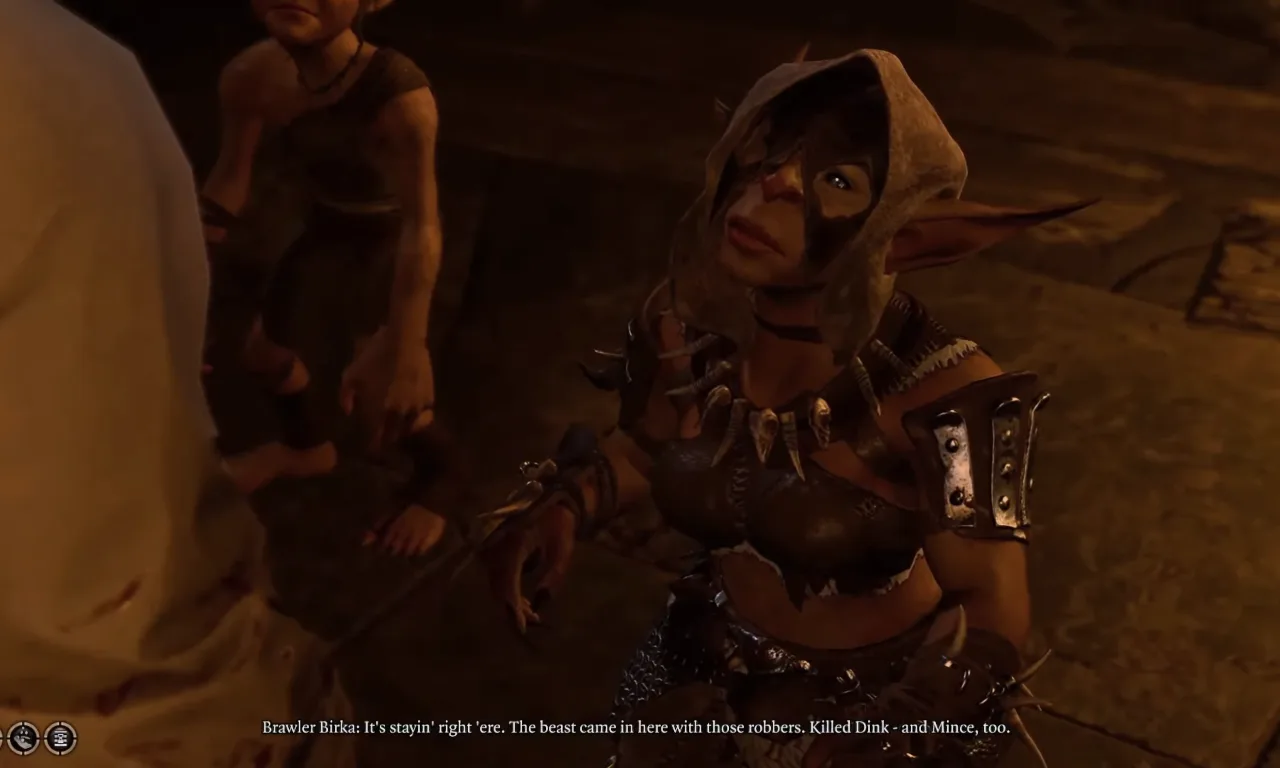
You can also attack the Goblin guards at the gate. Just be aware that this triggers a massive battle. Once fighting starts, every Goblin there will join the fray, and they have reinforcements nearby. If you are at level 3 or lower, this combat will be tough unless you have good positioning and area-of-effect spells. The camp becomes permanently hostile, and you miss out on some dialogue options and side quests inside. Lastly, if you spare Sazza, the caged Goblin in Emerald Grove, she offers to escort you into the Goblin Camp. This makes getting past the guards very easy but she is loyal to Goblins, so it can make Halsin’s rescue a little trickier later.
Find Halsin in the Shattered Sanctum
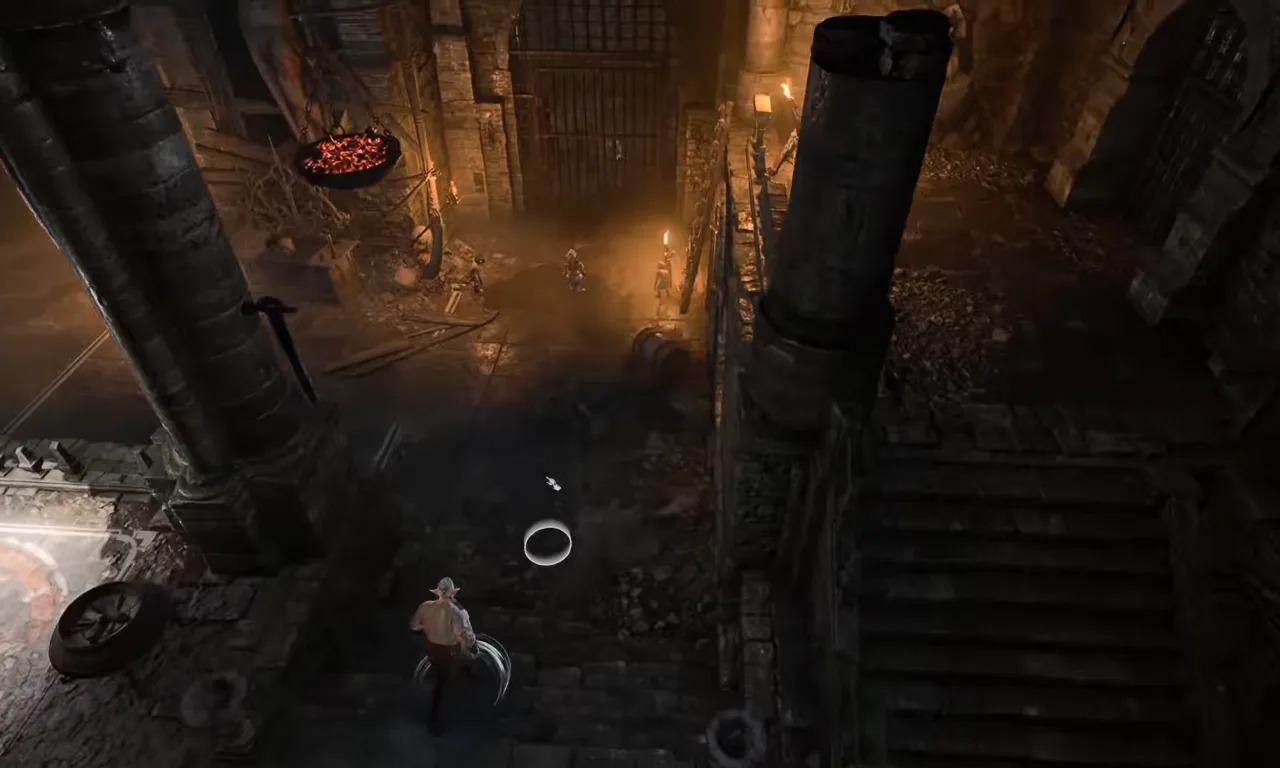
To find Halsin, you need to enter the Shattered Sanctum, which is the Goblins’ main hideout. It’s a large, temple-like structure deep inside the camp, and it has many enemies. You can walk right in with no conflict if the Goblins think you’re a friendly True Soul, or have to fight your way inside if things got violent earlier. Either way, once inside, there will be some tricky situations to go through.
Make your way to the Worg Pens on the eastern side of the Shattered Sanctum at coordinates: X: 393, Y: -60. When you get there, you’ll immediately notice something odd: a big, angry bear surrounded by Goblins. That’s Halsin, currently stuck in his wild shape form after being captured while investigating the Goblins. They have no clue who he is, which is probably why they’re mocking him instead of killing him.
The moment you step too close, the Goblins get suspicious, and a fight inevitably breaks out. If you want to get the jump on them, begin the battle from a high ground so it will be easy to land a few solid opening shots. But using the Speak with Animals spell or potion, you can communicate with Halsin before the fight starts and find out how he is doing there after being tortured. He’ll tell you to get ready for a fight because you have to deal with those guarding Halsin’s side to free him, and he will even hint at how he will wreck these goblins himself.
Once the combat starts, Halsin will shift into full bear form and go berserk. This is both good and bad—he’s a fantastic tank who can tear through goblins like paper, but you will have no control over him. So you should keep up with his rampage while beating enemy reinforcements. Some of the Goblin kids might run for help, which means if you don’t end this fight quickly, you’ll have many more enemies to deal with. So kill all of them fast on the spot, focus fire on the biggest threats including Beastmaster Zurk and his pet Worgs.
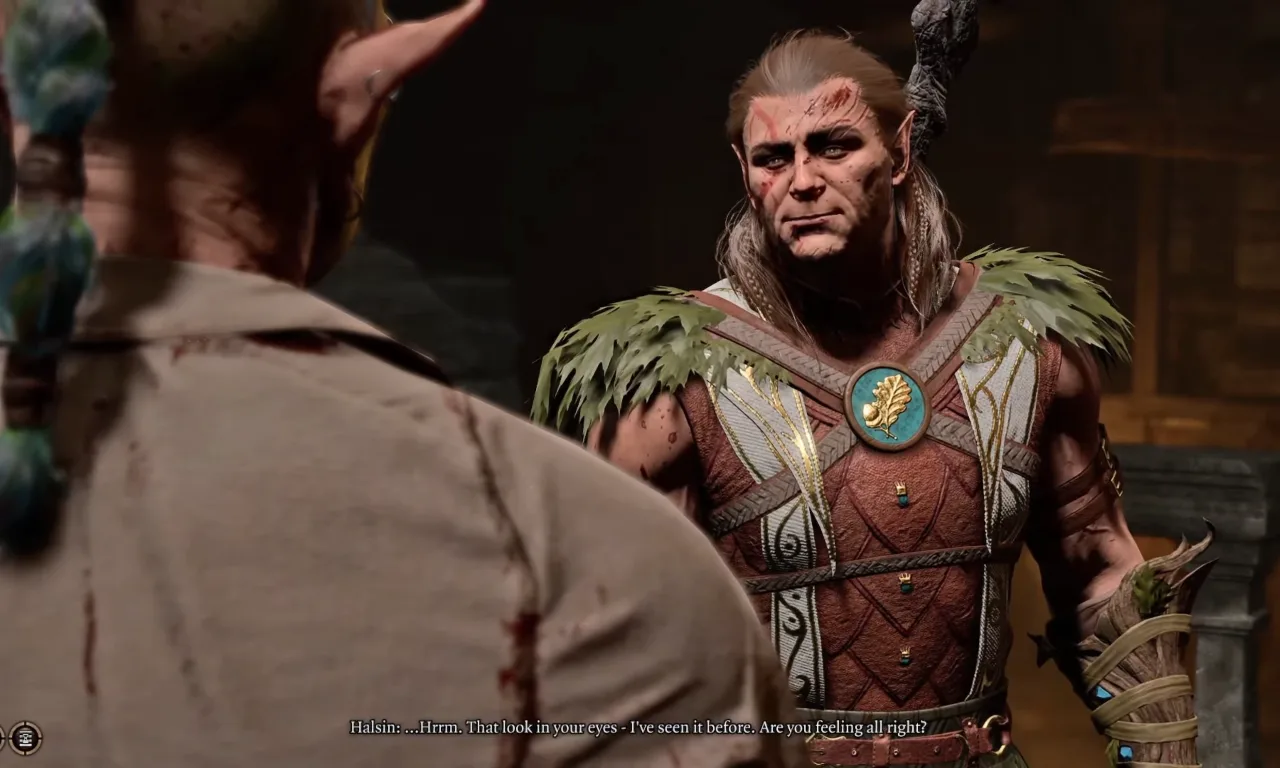
After every Goblin is wiped out in the Worg Pens, Halsin will finally calm down and speak to you. He will be relieved to see friendly faces and explain that he was captured when trying to learn more about the Absolute. But your job isn’t done yet – Halsin won’t leave until the Goblin Leaders Priestess Gut, Dror Ragzlin, and the Drow Nightwarden Minthara are taken care of, meaning there are more tough boss fights ahead.
Deal with Goblin Leaders
If you want to handle the Goblin leaders by yourself, you can tell Halsin to wait in the Worg Pens until you return. This is a stealthier way that allows you to kill the leaders one by one without triggering a full-scale war. However, by telling Halsin you’re ready to attack right now, he’ll follow you around the camp in bear form and help kill the leaders. This means you’ll be fighting the entire camp at once, so be prepared for some serious combat.
There are three leaders you need to eliminate before you can progress further through the game:
- Priestess Gut (Goblin Cleric of the Absolute) – Find her near the front entrance of the Sanctum. You can trick her into a private meeting (then assassinate her). If you fight her in public, she will call for helper groups. If she drugged you earlier in the game, she will try to capture you instead.
- Minthara (Drow Commander Planning the Grove Attack) – Minthara is in a chamber northeast of the Sanctum, rallying forces for the assault. Using a sneaky way, you can snipe her from a high ledge, or by attacking head-on, she’ll summon Goblin and bugbear allies to help. She can be romanced later if you side with her but that means betraying Halsin and the Grove.
- Dror Ragzlin (Hobgoblin Warchief, Absolute Fanatic) – He’s sitting on a throne in the middle of the Sanctum, right next to a massive pile of corpses. He is tough, but if you steal his War Drum, he won’t be able to call reinforcements. If you let him perform the Absolute’s ritual, things can get very messy (hint: he wakes up a dead mindflayer).
The moment you engage one leader, the entire Goblin camp goes hostile and it leads you to fight multiple waves of enemies at once. This can be overwhelming as under-leveled, but on the bright side—Halsin is a freaking beast. His bear form makes him tanky as hell. He deals heavy melee damage and can handle multiple Goblins at once. He’s not invincible, though, so keep an eye on his health and heal him if needed. The best way is to lure enemies into choke points and use area-of-effect spells like Burning Hands, Cloud of Daggers, or Grease + Fire combos to thin their numbers quickly.
Once all three Goblin leaders are dead, Halsin will declare the Emerald Grove safe. He’ll thank you for your help and tell you to meet him back at the Grove. However, if you took too long to act, things might have gone very differently. If you delay the rescue, the Tieflings will leave the Grove, thinking it is unsafe to stay. Worse, siding with Minthara turns the Grove into a mass grave by the time you return. Your choices matter here, and how this moment plays out will affect the rest of the game.
Why Halsin is Important and Can You Recruit Him as a Full Companion?
Once he’s settled at your camp, Halsin will explain that his real goal isn’t only protecting the Grove, but it’s investigating the Shadow Curse, a deadly affliction spreading through the lands near Moonrise Towers. That’s where Act 2 starts leading you, and Halsin’s knowledge will be incredibly useful when you get there. He’ll talk about an ancient ritual, something powerful enough to fight back the curse, but he needs more information before he can act.
This means he won’t become a full-fledged companion yet, but he remains a key NPC who helps unravel some of the game’s biggest mysteries. So, although Halsin stays at your camp after the Grove events, he doesn’t join your active party until you progress into Act 2 and help him deal with the Shadow Curse. Once that is resolved, he fully commits as a companion, giving you access to his Druid class, shapeshifting abilities, and overall powerful combat skills.
Read More:


 from Goblin Camp.)