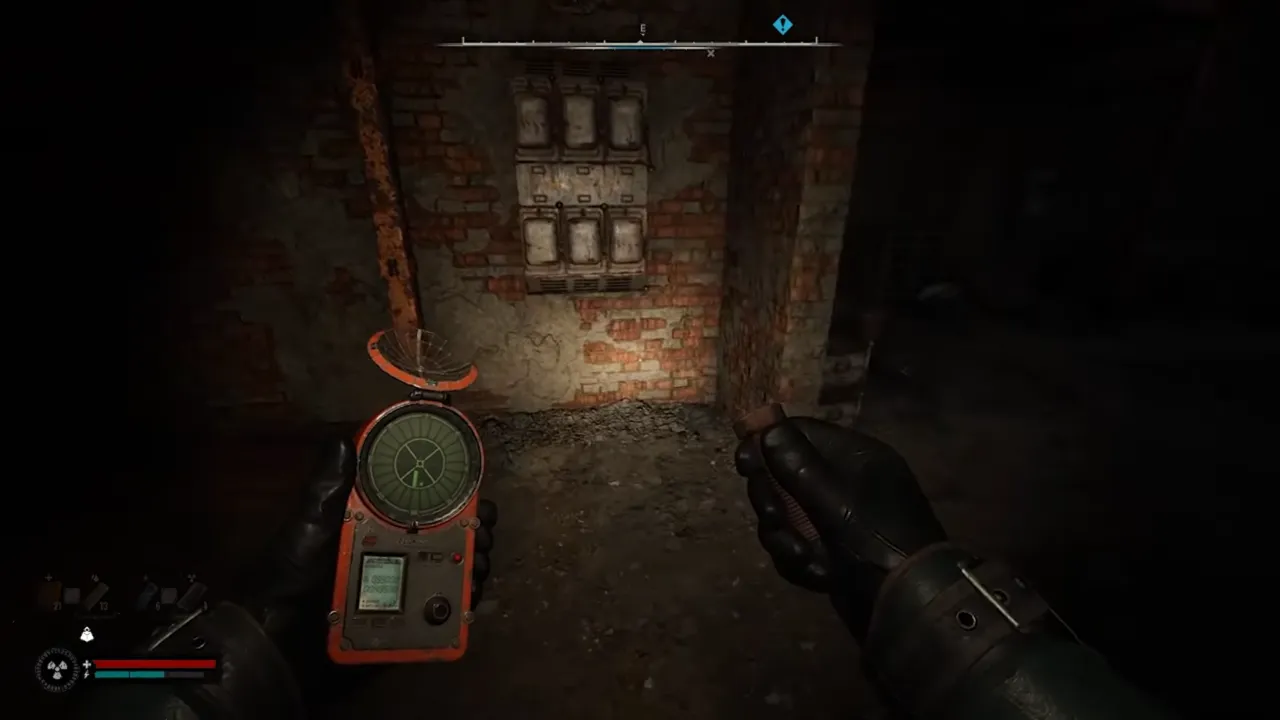
Finding artifacts in STALKER 2: Heart of Chornobyl isn’t exactly a walk in the park. That’s when the Bear Detector becomes a valuable item that helps you to find the artifacts by its radar system hinting towards the exact location. This article explains how to get your hands on this handy device and why it’s the early game need you’ll be grateful for.
How to Complete the A Sign of Hope Mission to Get Bear Detector
The Bear Detector is earned from Professor Lodochka after completing his side mission “A Sign of Hope“. It gets unlocked when you’re exploring Wild Island as part of the main storyline mainly during the “Hot on the Trail” quest.

Here’s what you need to do:
- Head to the Noontide Base on Wild Island and talk with Professor Lodochka. Ask if he needs help, and he’ll hand you the mission.
- Your task involves heading to the roof of the Noontide Base. The path there can be tricky — you’ll need to circle around the back of the building, climb the third section of the tower through ladders, and then jump on the rooftop with an enemy standing there.
- On the rooftop, you’ll encounter a zombie, and you’ll need to make a choice:
- Don’t kill the zombie: This disappoints Professor Lodochka, but he’ll still give you the Bear Detector.
- Kill the zombie: The professor will be happy with your decision — and of course, the Detector is your reward.
There’s no real consequence to your choice here. So if you’re feeling merciful (or in a rush), skipping the zombie is fine. Once the device near the zombie is shut off, the mission is complete, and you’ll obtain your new Bear Detector.
Related:
Why the Bear Detector is a Good Choice?
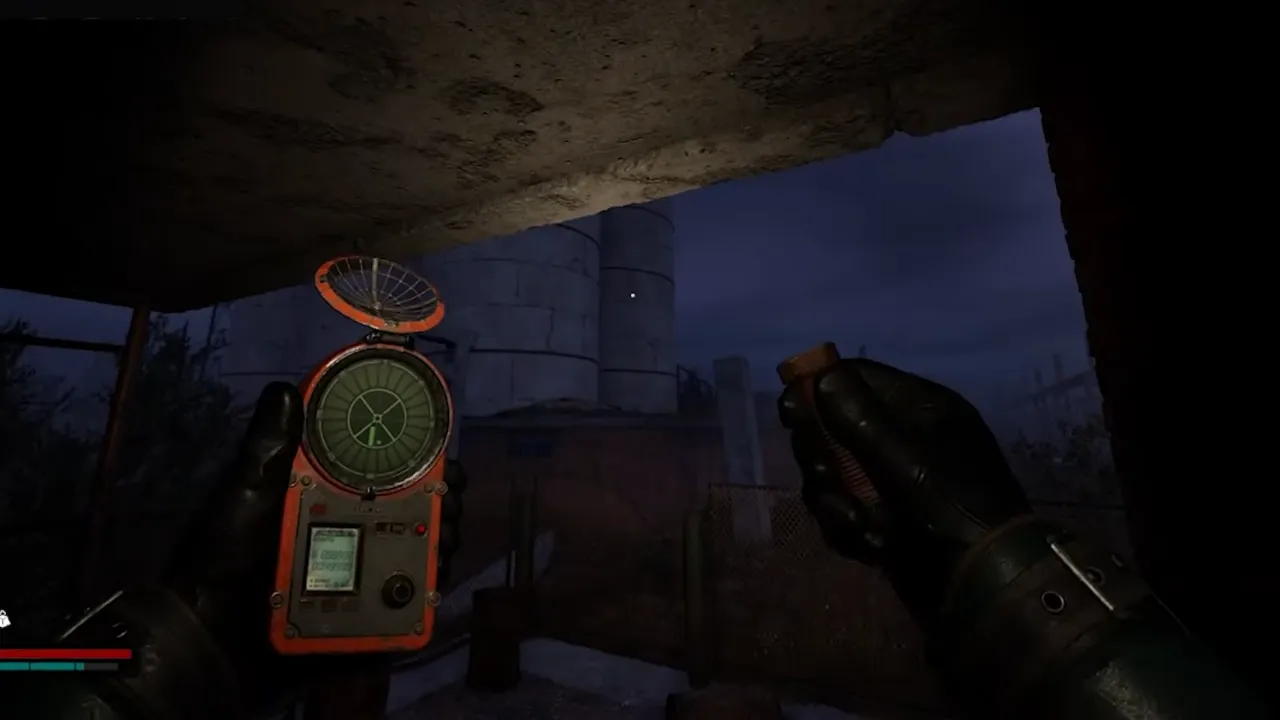
The Bear Detector completely changes how you track artifacts. Unlike the Echo Detector, which only beeps vaguely like a microwave telling you something might be ready, the Bear has a radar-like display. It uses light bars on a circular screen to point you directly toward the artifact and even gives you a sense of how close you are. No more wandering around aimlessly while getting zapped by anomalies or smacked by mutants.
The best thing about this detecting gadget is how much time and effort it saves. With the Echo, finding an artifact is often kind of like playing a sadistic game of “Hot or Cold” where “cold” means getting fried by radiation. The Bear, on the other hand, makes it simple: follow the lights, collect the loot, and get out. You’ll spend less time stumbling into danger and more time enjoying artifact hunting. Fewer detours into anomalies mean fewer health resources such as bandages and medkits wasted.
Bear Detector Tips and Tricks
- When the detector lights form a full circle, you will be standing on top of the artifact. If it’s not immediately visible or seems hard to locate, look up or down — artifacts can be on rooftops, underground, or even hidden in nearby crevices.
- Once you find an artifact, don’t be surprised if it “dances” around or shifts to a new spot. It’s a normal (and a little annoying) quirk of the game. Listen for audio cues, and adjust your position to re-triangulate the artifact’s new location.
- The Bear Detector’s range is about 60 meters which is good enough to pinpoint artifact locations. However, the Hilka Detector is the more advanced tool with a longer detection range (100 meters). If you have the weight capacity, carry both — use the Hilka to scan larger areas and the Bear to reach exact spots.
The Bear Detector in STALKER 2 cuts down on guesswork. Sure, it can only detect one artifact at a time, but for early and mid-game, this thing is your best source. It’s reliable, simple to use, and won’t have you rage-quitting when an artifact plays hide-and-seek.

