


In Kingdom Come: Deliverance 2, the main quest “For Whom the Bell Tolls” is one of the most intense and time-sensitive missions you’ll have to complete. After a series of bad decisions—namely, getting caught up in a brawl at Lord Semine’s wedding—Henry and Sir Hans Capon find themselves locked up in jail at Trosky Castle. Unfortunately, things are worse for Hans. He’s been accused of poaching and is given a sentence to be executed in only 12 in-game hours. That means you only have half a day to figure out a way to stop it and save Hans.
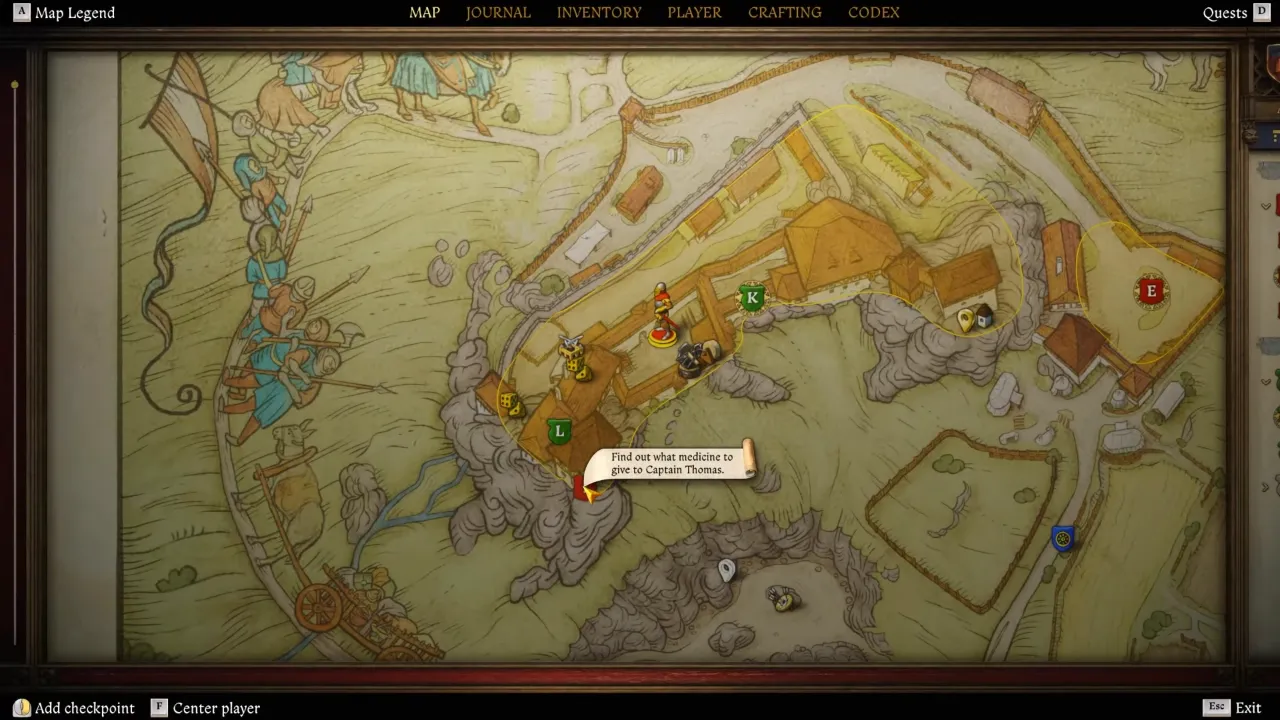
To do that, find Captain Thomas, a nobleman who can vouch for Hans’s identity. But he is bedridden with a fever in the castle’s Maiden Tower, and unless you cure him, he won’t be able to help. You’re stuck in the castle as a prisoner, stripped of your weapons and gear, and have to rely on stealth, persuasion, and quick thinking to go through restricted areas and find medicine to cure Thomas to get his help. There are multiple ways to progress this quest—some faster than others but no matter what, you’ll need to be quick before Hans meets the noose.
This detailed For Whom the Bell Tolls walkthrough will take you through the entire quest, showing both the fastest path to save Hans and a step-by-step approach to explore everything in it in KCD 2.
How to Complete For Whom the Bell Tolls in Kingdom Come: Deliverance 2
The quest begins inside a dark, damp cell, where Henry and Hans have been locked up after their latest misadventure. After a short conversation, Guardian Kroupa arrives and releases only Henry. Lucky for him, he is being given a second chance but not without a few conditions. While Hans remains locked up awaiting his execution, Henry is told to work off his punishment by helping around the castle. This is your chance to get inside different areas of Trosky Castle, but you’ll need to be smart about how you move forward. The conversation with Kroupa is important, you should get as much information as you can through dialogue options.
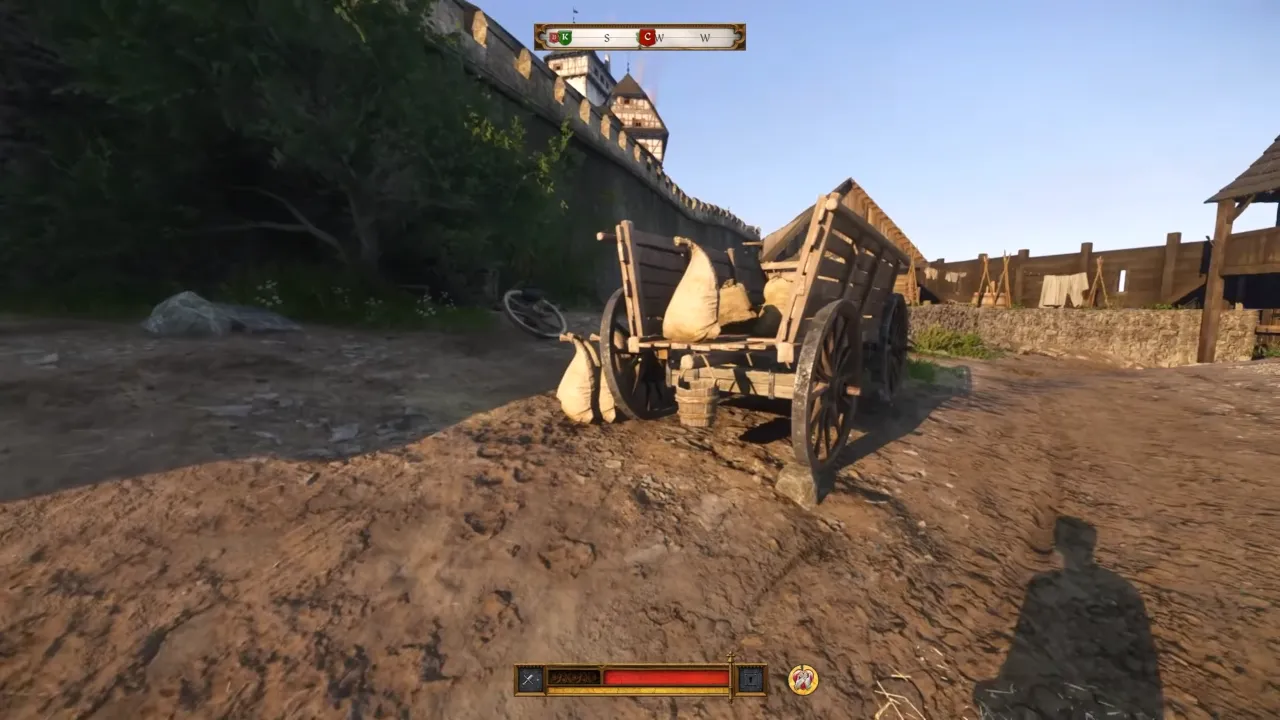
The first job you’re assigned is to haul three sacks of charcoal to a nearby shed, simply carry the sacks and drop them off at the Blacksmith’s charcoal shed.
Go to Smithy and Get Lockpicks
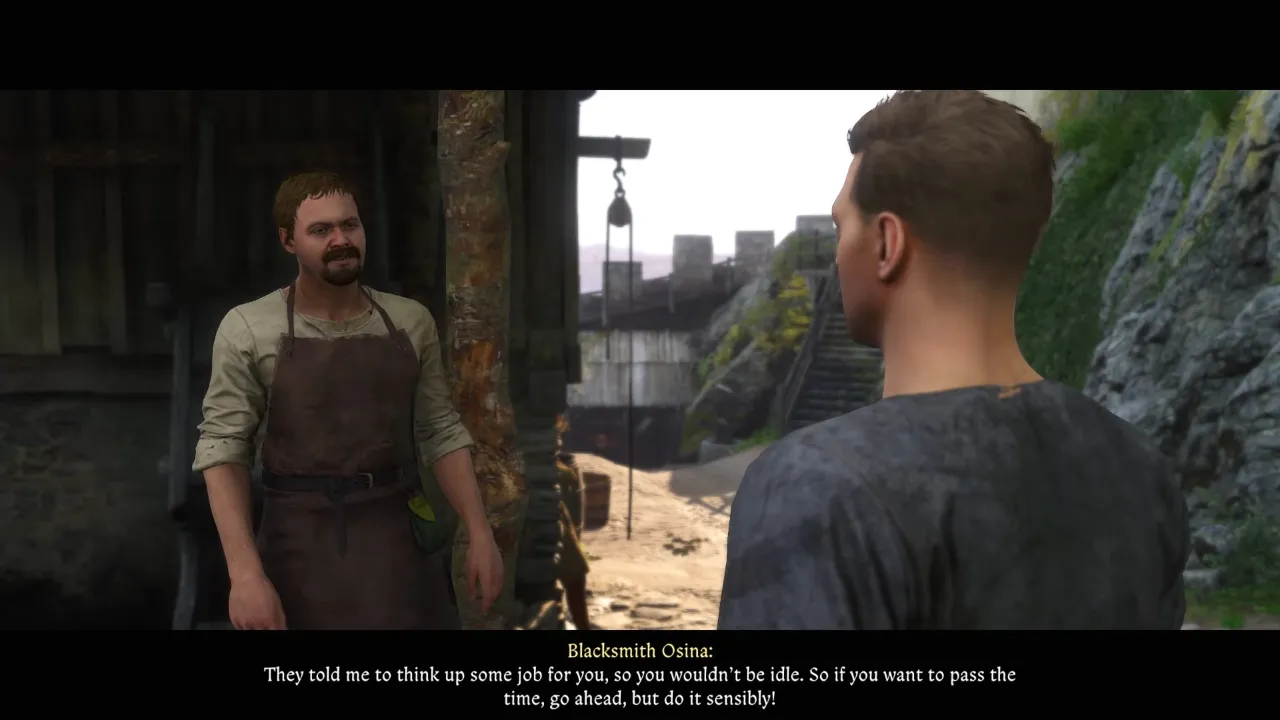
Once the sacks are delivered, your next step is the Blacksmith’s forge. He isn’t particularly friendly, but with some persistence, he will reluctantly agree to let you work the forge and make the horseshoe. It’s an important step because you get access to the inner courtyard with that, bringing you closer to where you need to be. Go to the place to make the horseshoe and bring it to the Blacksmith.
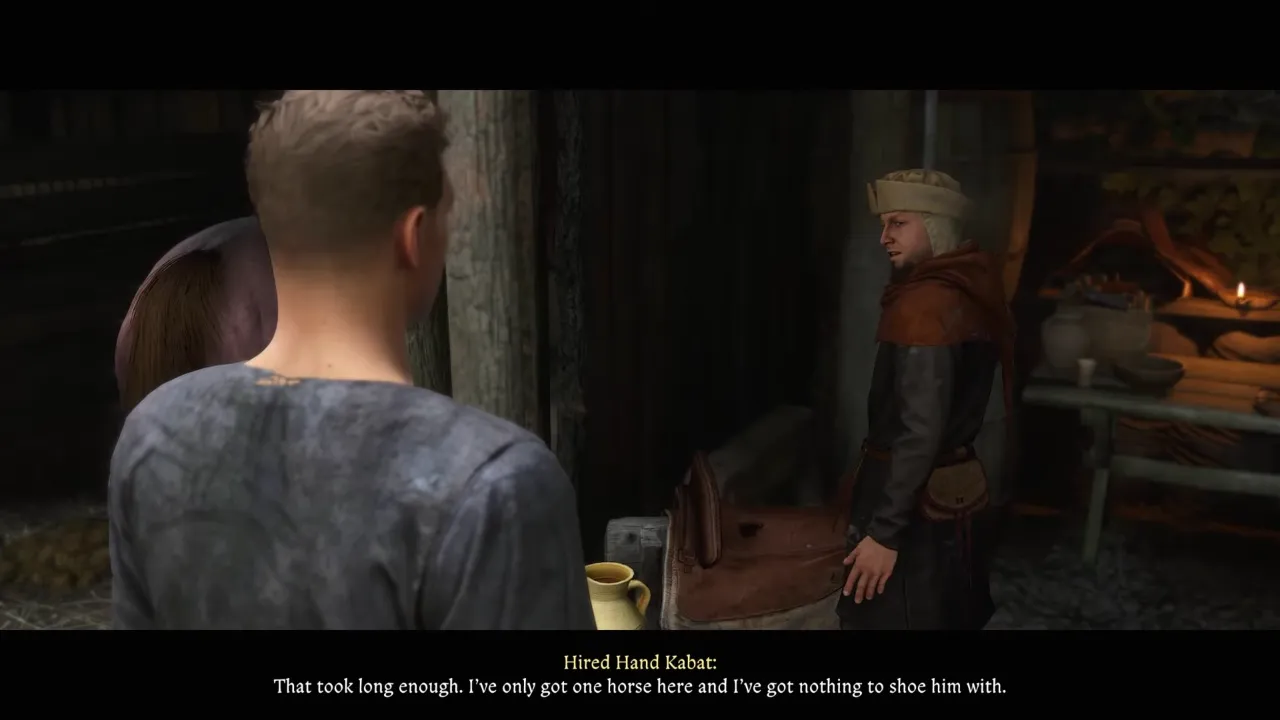
He will tell you to take it to Hired Hand Kabat who is straight further down the way. Ask him about the tools to get the lockpicks because you need them for this quest. He asks you to first complete a small side task for him which is to retrieve his lost Turqoise rosary and he’ll give you three lockpicks as a reward. Further in the courtyard at Smithy, check the red pot on the shelf—there’s a lockpick you should not miss.
This rosary, however, is in the hands of Father Nicodemus, and there are two ways to get it back:
- Challenge him to a game of dice and win it back fair and square.
- Steal it from him, either by pickpocketing or knocking him out when no one’s looking.
To avoid extra work, it’s better to buy or steal lockpicks from Kabat. Either way, having picks is important to take shortcuts through locked doors and chests later in the quest. At this point, the real quest begins. You now have limited freedom within the castle, and it’s time to reach Captain Thomas before it’s too late.
Get Into the Crone (Alchemy Tower)
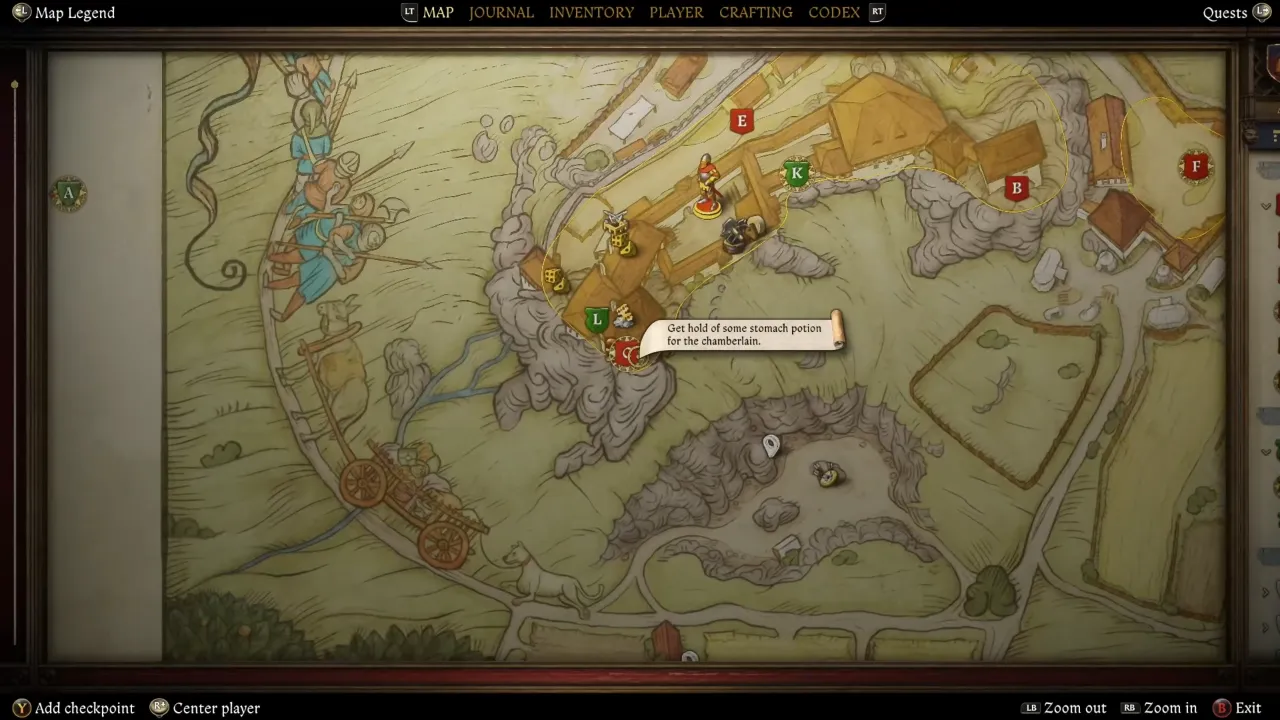
With some freedom to visit areas in the castle, next go to meet Chamberlain Ulrich, the castle official who is complaining about severe stomach pain. This guy is your source into the Crone Tower, but you’ll need to convince him for help. If your Speech, Survival, or Scholarship skills are high enough, you can successfully diagnose his illness and gain access to the surgeon’s alchemy room upstairs. If you fail, you’ll have to sneak your way in.
If you pass the Speech check, Ulrich will send you to brew a Digestive Potion in the Crone Tower’s Alchemy Lab mentioned below in this section. That means free entry, so you can safely climb the stairs without worrying about guards stopping you.
In case of failure, the way to proceed is:
- Distract the guard outside the Crone Tower by giving him food by picking from the bathhouse beneath the stairs.
- Wait until nighttime and sneak in when there are fewer people around.
- Pick the lock on the Crone Tower door if you have a high enough Thievery skill.
After reaching the upper castle area by climbing many stairs, you will come into a small hallway and the right-end door takes you inside the alchemy room where you’ll meet Katherine, an NPC maybe a maid there – you can talk with her. On the bookshelf, you’ll find the Physician’s Journal, which contains the Digestive Potion and Fever Tonicum recipes. If you manage to open the locked chest near the lady, you’ll find all the ingredients needed to brew the potion inside the chest. Otherwise, you’ll have to collect them manually.
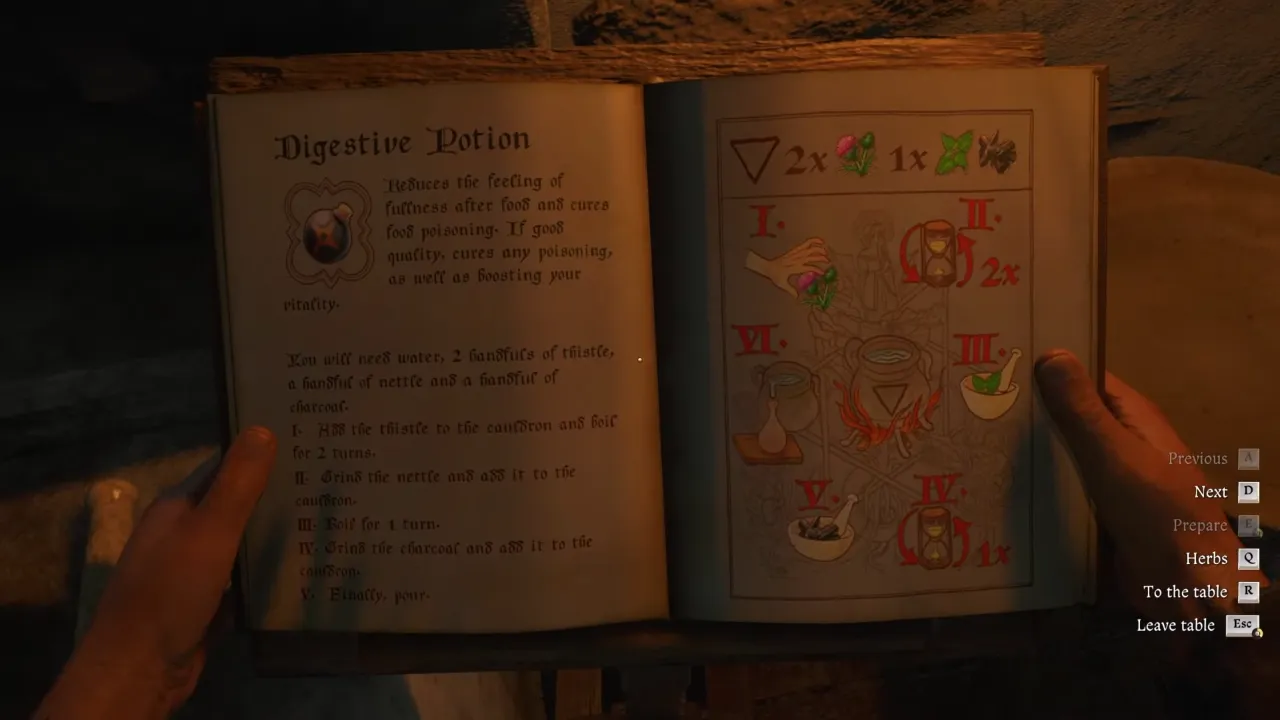
To brew potion for Ulrich, you’ll need 2 Thistle, 1 Nettle, 1 Charcoal, and Water as the base. Follow this process with ingredients in hand:
- Add Thistle to the cauldron and boil for 2 sandglass turns.
- Grind Nettle, add it in, and boil for 1 turn.
- Grind Charcoal and add it to the cauldron.
- Pour the potion into a Phial.
Brew the Fever Tonicum
To brew the Fever Tonic for Thomas, you can use the same alchemy bench after collecting the ingredients. The lockpicks you obtained just behind will help you easily lockpick the chest there to get the potion items.
In case you can’t unlock the chest, you need to collect three key ingredients for the tonic:
- Feverfew – This can be found growing near the barn behind the kitchen.
- Ginger – Inside Cook Fanka’s locked spice chest in the kitchen cellar. If you already helped her unlock it, you can take it.
- Elderberry Leaves – Stored inside a locked chest in the Carpenter’s house near the charcoal shed.
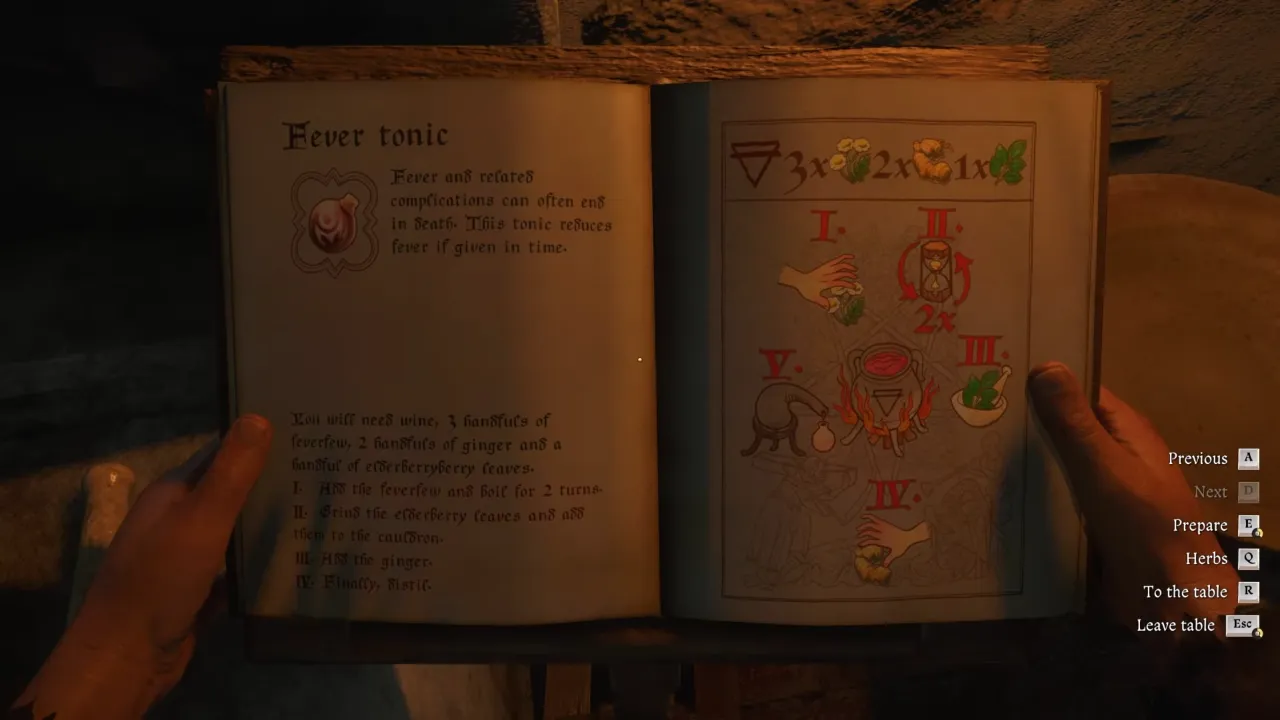
Once you have all three, it’s time to brew the potion at the alchemy bench. Here’s how:
- Pour wine into the cauldron.
- Add 3 handfuls of Feverfew into the cauldron first.
- Boil the mixture for two sandglass turns.
- Grind 1 handful of Elderberry leaves using the mortar and pestle, and add them to the cauldron.
- Add 2 handfuls of Grated Ginger into the mixture.
- Pour the potion into a Phial.
Get Into the Maiden (Chapel Tower)
The Maiden Tower is where Captain Thomas fell on the bed due to infection, but it’s even harder to access than the Crone. There are a couple of ways to get into the Maiden:
- By helping Ulrich with his stomach problem, you can give him the Digestive Potion and ask for free passage to the Chapel. This is the easiest and safest way to get inside without sneaking or bribing anyone.
- Near the forge area, a guard is praying for Captain Thomas. If you talk to him and mention the rosary (which you may have already retrieved for Kabat), he’ll offer to escort you to the top of the tower. This completely bypasses the need to sneak, and you’ll reach Thomas much faster.
If you don’t want to go through the official channels, you can sneak your way up the Maiden Tower. Here’s how to do that:
- Throw small stones to distract the guards.
- Wait for the right moment and sprint past them.
- Use the well entrance (if you find it) to sneak into the upper floors.
Find Captain Thomas and Deliver the Medicine
From the blacksmith’s table where you forged the horseshoe, move towards the left just from the entrance area and go up through the stairs. You’ll come across two doors, go through the right door. Be careful, though; this area is restricted, and guards patrol frequently.
After entering the door, again take the stairs to move upward and go inside the door on your left which will be of green color – that’s your way forward. Once you exit the hallway, you’ll face another guard who blocks your path. Use a rock to lure him away from the stairs, then sneak past him. After climbing the stairs, you’ll finally reach Thomas and his sister, Adela inside the room. Talk to her, and she will explain Thomas’ condition and ask for your help.
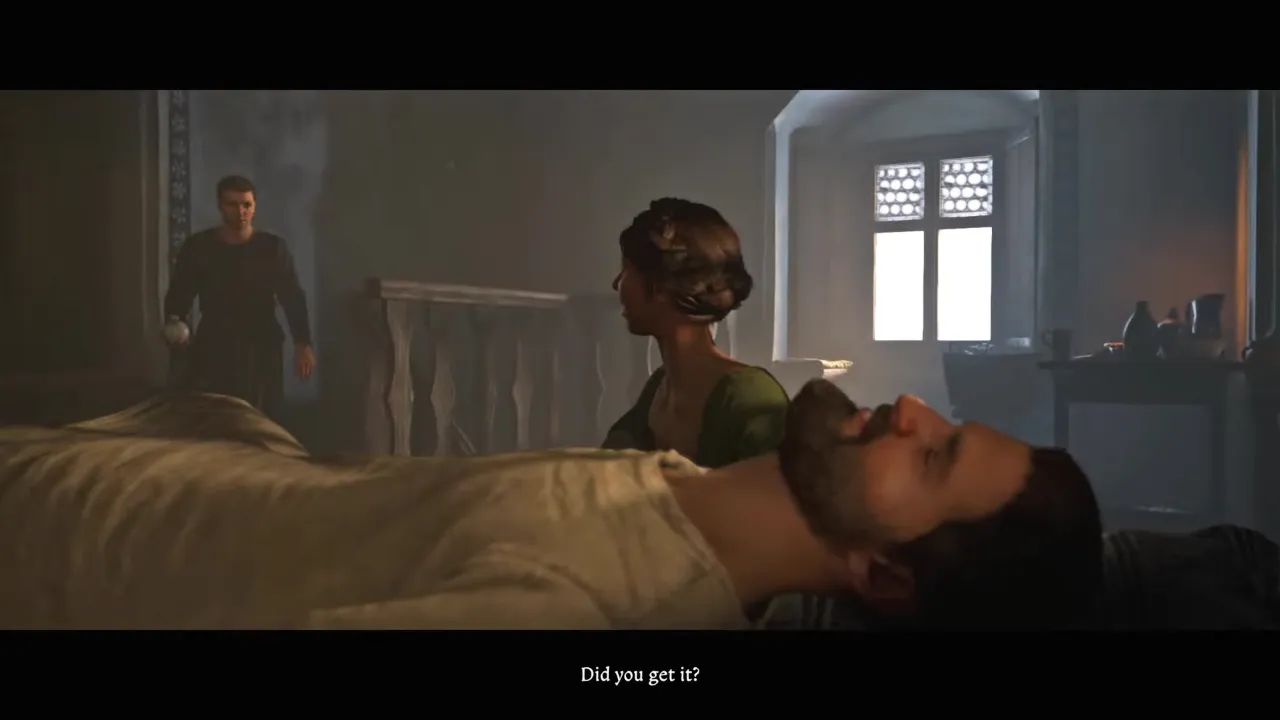
When you hand over the Fever Tonic, she quickly gives it to Thomas. A cutscene plays, showing Thomas slowly recovering. Just in time, too—because at this very moment, Hans is being led to his execution. Before you can process what’s happening, the game throws you into another scene where you, Thomas, and Adela rush to stop the execution.
The outcome depends on whether you were fast enough, but assuming you followed the right steps, you should arrive just in time to save Hans. With Hans’s identity confirmed, the execution is called off, and the For Whom the Bells Tolls quest is finally completed in Kingdom Come: Deliverance 2. Now that you’ve secured Hans’s freedom, you move on to the next major quest—”Back in the Saddle.”
Fastest Way to Complete the For Whom the Bells Tolls
If you don’t like to waste time exploring every corner or chatting with every NPC, and simply want to save Hans as quickly as possible to end the mission, there is a way to pace up the process. If you have a Thievery skill of 14 or higher, this is the absolute fastest way to complete the quest:
- Pickpocket Kabat (the stable hand) for lockpicks.
- Head straight to the Crone Tower, pick the lock on the Hard Chest inside the room opposite the surgeon’s room on the left of the hallway, and get the Fever Tonic.
- Sneak up the Maiden Tower (or bribe/talk your way in if possible).
- Give Captain Thomas the potion.
- Watch the cutscene and save Hans.
This method skips nearly all the side quests and conversations, but it requires a high Thievery skill to pull off. If you’re caught stealing, you’ll have to bribe guards or restart from your last save.
Optional Activities to Do in the Quest
If you don’t want to miss any activities and rewards in the castle, this quest has many optional tasks, loot, and interesting interactions. There are a few small side tasks you can do while making your way through the castle:
- Kolda’s Axe – Hired Hand Kolda near the gallows needs his axe sharpened. If you return it to him, he’ll tell you about the hidden well tunnel.
- Cook Fanka’s Spice Chest – Fanka, the cook, is struggling with a locked chest. If you unlock it for her, you’ll gain access to extra food and ingredients (including Ginger for the Fever Tonic).
- Stealing from the Chapel – If you want to be a little sneaky, the room next to Captain Thomas’s bed contains a Lucky Die, a Holy Chalice, and a Golden Crucifix—all valuable items that can be sold later.
Hidden Loot and Easy Money
If you’re short on Groschen (money) and need extra lockpicks or items, look for these:
- Groschen Stash – In a bedroom near the stable, there’s a dresser with 48.2 Groschen inside. It’s unguarded, making it an easy grab.
- Secret Lockpicks by the Carpenter’s House – Near the carpenter’s sawing area, there are two lockpicks hidden on a barrel in a dark corner.
Talk to Vuytek and Magda
If you remember, Vuytek is the guy who started the bar fight that got you arrested. He’s in a meeting with Magda, the bathhouse owner, near the well. If you talk to them, you can split them up, annoying Vuytek and taking your revenge.
Sneak Down the Well
If you haven’t tried the well tunnel escape, it’s worth doing it at least once just to see the hidden area. The tunnel connects to multiple parts of the castle, letting you bypass guards and locked doors. Furthermore, there’s a Gold Emperor’s Badge at the bottom, which can be sold later for extra Groschen.


