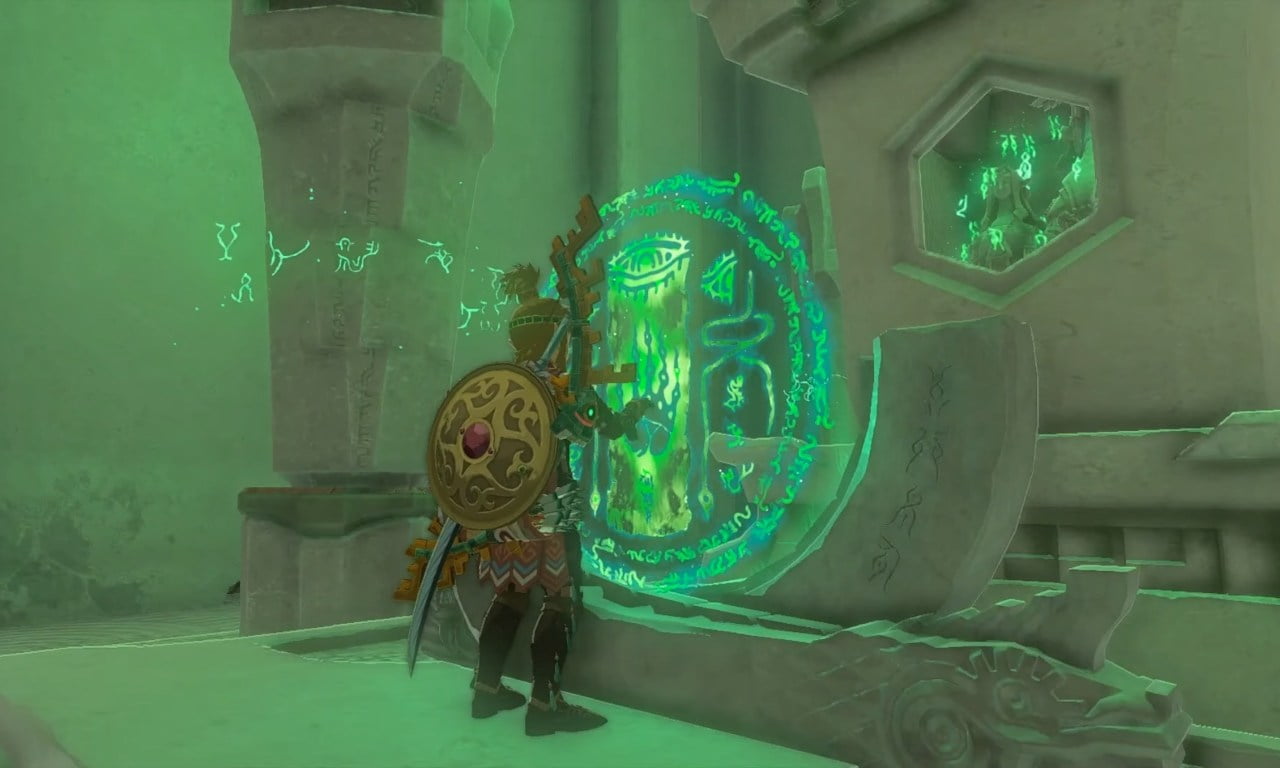
The Shrines from Breath of the Wild have returned for another round of challenges in The Legend of Zelda: Tears of the Kingdom. However, you won’t only be able to show off your puzzle-solving talent this time but each Shrine you conquer gets you Light of Blessing. By collecting four of these, you can exchange them for a Heart Container or a Stamina growth.
However, unlike in Breath of the Wild, around one-fifth of the shrines out of 152 in Zelda: TotK have taken the high road and are only available in the higher skies of Hyrule known as Sky Shrines. One of them is the Kadaunar Shrine (Water Makes a Way) at the Eldin Canyon Sky Archipelago, and this sky-high Shrine is different from the others.
This article guides you about the Kadaunar Shrine location, a complete walkthrough of getting through this shrine, solving its puzzle challenges, and the loot chests inside.
Zelda: Tears of the Kingdom Kadaunar Shrine Location
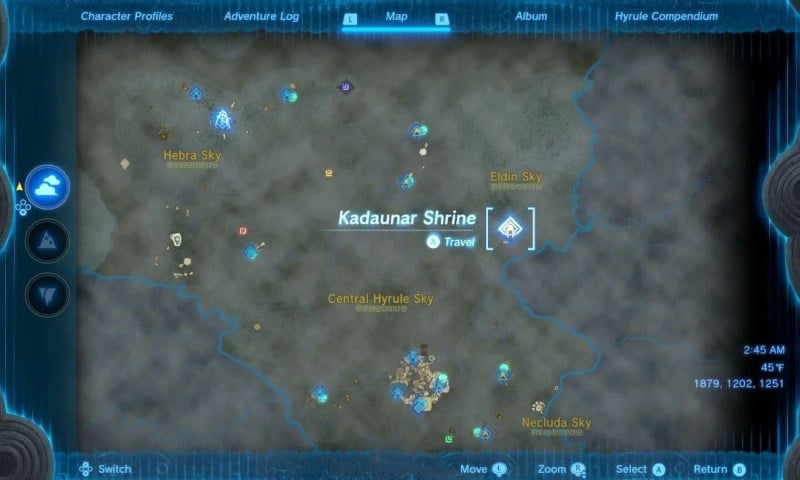
From the Eldin Canyon Skyview Tower, launch into the air from the tower top of the Sky Island Archipelago and let the wind take you east towards the coordinates (1882, 1202, 1251).
Keep your eyes open for a small island with tracks leading up to the Shrine, you’re about to do some climbing. Once there, you’ll have to face off against Construct. Defeat the enemy and build a mine cart with a fan; don’t forget to collect as many of the nearby batteries as you can.
Hop into that cart and ride it to the next island. Shoot down that chest hanging from a rope – it has a Treasure Map within it. Defeat more Constructs along the way, keep going upwards, and you will almost be there. Move to the island’s top; you’ll find another mine cart and gear. Outfit it, and you can get to the next island straight to the Kadaunar Shrine.
Zelda: TotK Kadaunar Shrine ‘Water Makes a Way’ Puzzle Solution
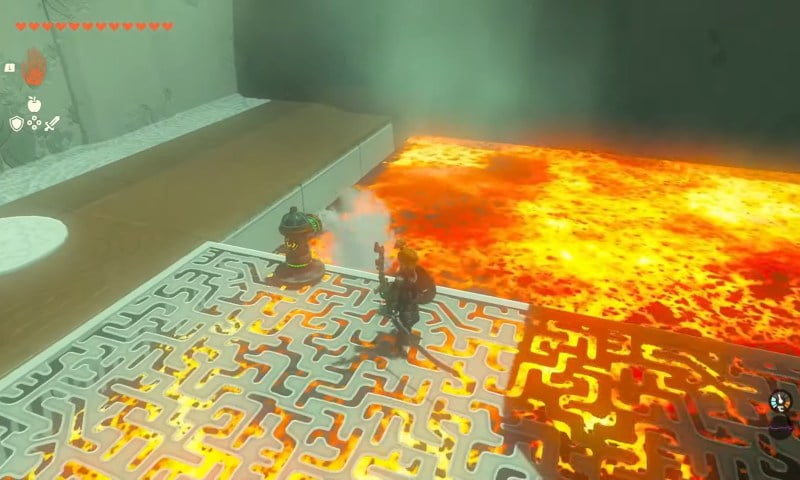
As soon as you step foot in the Shrine, you’ll see the faucet thingy you can pick up using your Ultrahand. It’s more than it seems – knocking it near the lava will turn into a water show. Those who played Wind Waker might already know about this water flow into the lava.
This faucet-turned-water-canon cools down the lava into some stone panels. Use your Ultrahand to pick them up and get your architect mode on. Transform those panels into your lava-proof bridge. Drag your new stone bridge into the next room and hang a left. You’ll spot a ledge with a treasure chest containing good loot to collect. Angle your bridge across the lava pit to that ledge, and collect the reward mainly a Strong Construct Bow.
Don’t miss that Claymore placed by the rock wall. You will need some heavy-duty firepower to knock down that wall. No sweat, though. Craft a massive hammer from a lava slab you made with the faucet. Strap on your Fuse power, whip out the Claymore, and fuse it with a rock slab. A few good swings will make the wall history. Last up, in the final room, you’ll find your exit near a bridge with a lava river and a pair of spouts/hydrants. Turn these spouts into stone panel makers, extend your old bridge, or craft a brand-new one to reach the exit.
And that’s all for this guide about the Kadaunar Shrine walkthrough in The Legends of Zelda: Tears of the Kingdom. Remember, no puzzle is too tough when you’ve got pro gamer skills.

